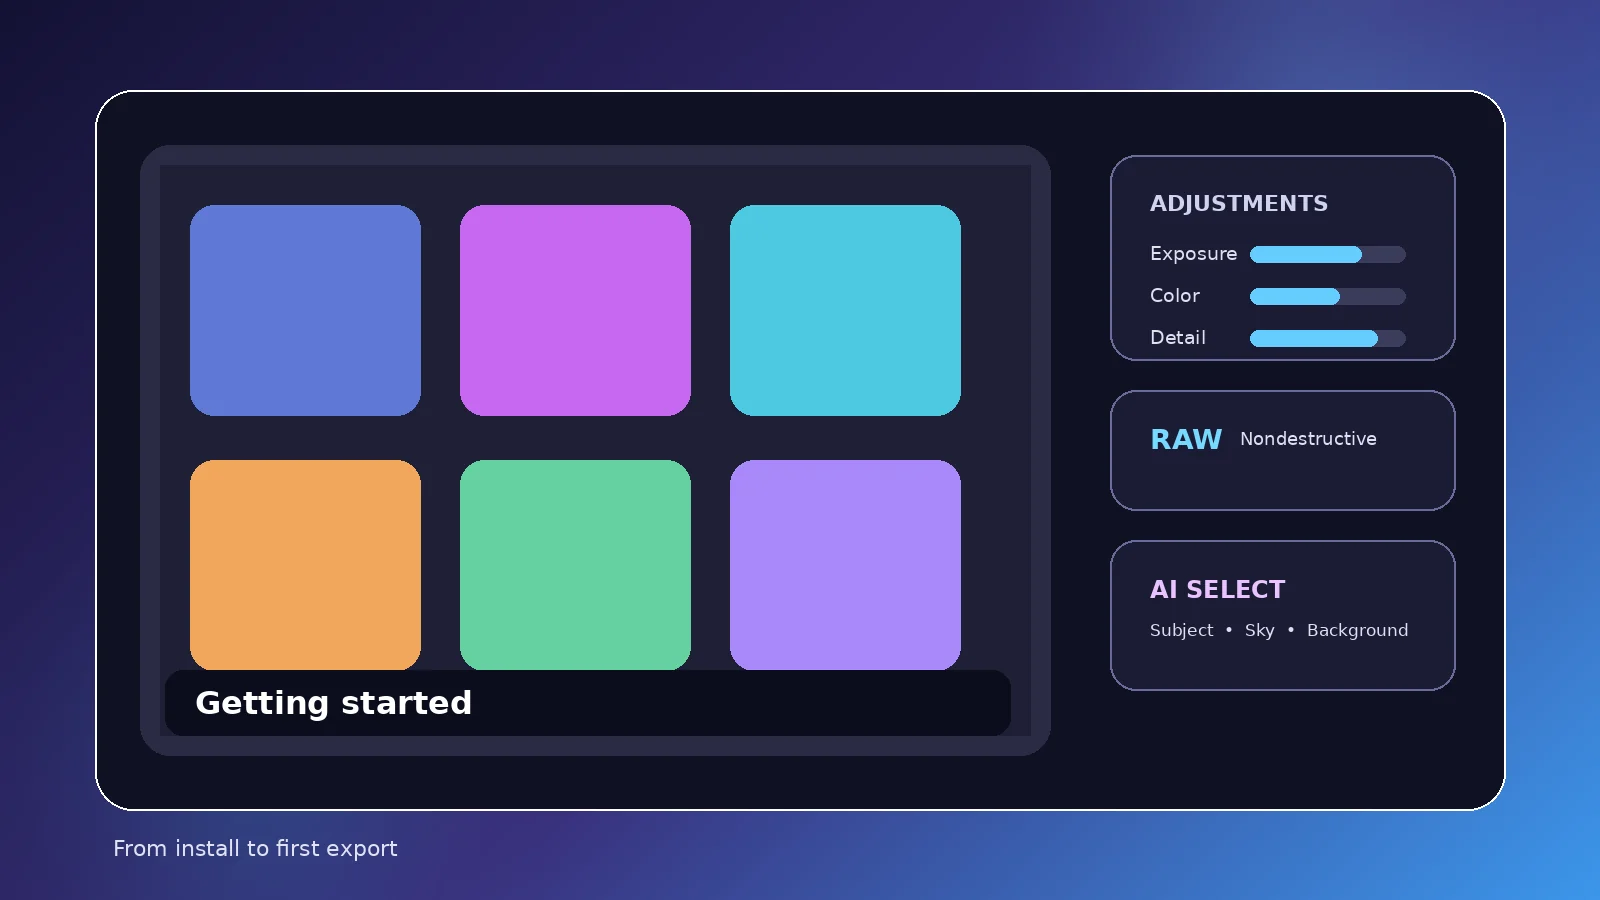
A smooth first session depends on three things: installing from the legitimate App Store source, granting the right photo or file access, and learning a simple adjustment order before experimenting with advanced tools. The steps below keep that setup practical and easy to verify.
Install from the legitimate source
Photomator is distributed through Apple’s App Store. Start from the official listing rather than third-party “download” pages. This matters because unofficial DMG, ZIP, EXE, APK, cracked, or modified copies create avoidable security and licensing risks.
After installation, open the app normally from your Apple device. If the App Store shows a trial or purchase choice, read the current regional terms before committing.
Grant only the access you need
On first launch, Photomator may ask for access to Photos or files depending on your workflow. Grant the level of access needed for the images you plan to edit. If a photo does not appear later, permissions are one of the first things to review in system settings.
A Photos-based workflow is convenient when your library already lives in Apple Photos. A files-based workflow can make more sense for project folders, external drives on Mac, or cloud storage.
Open one representative image
Choose a normal photo rather than your most difficult RAW file for the first session. You want to learn where adjustments live and how the image responds before adding camera compatibility or extreme dynamic-range recovery to the equation.
Use a photo with skin, sky, or mixed lighting so you can see how global and selective adjustments behave.
Make foundational adjustments first
Begin with white balance, exposure, highlights, shadows, contrast, and basic color. Small changes are easier to evaluate than aggressive moves. Watch the histogram as a guide, but judge the photograph visually as well.
Once the global tone is in a good place, move to Curves, Levels, Selective Color, or Color Balance only if they solve a specific problem.
Try one local adjustment
Use a subject, sky, or background selection on an image where the target is obvious. Make a subtle exposure or color change and inspect the boundary at high magnification. If the mask misses detail, refine the edit rather than assuming automatic selection is perfect.
Retouch conservatively
Repair and, on supported Mac workflows, Clone can remove distractions. Start with small, isolated objects against simple backgrounds. Large removals across repeating textures or complex edges can require several passes and close inspection.
Export a first finished image
Choose an output size and format appropriate to the destination. For social sharing, a standard high-quality image is usually enough; for archival or professional delivery, keep a high-quality master and avoid unnecessary resizing.
After export, open the finished file outside the editor. This catches sharpening, sizing, color, or compression surprises before you consider the job done.
Practical checklist
- Install only from Apple’s App Store
- Check Photos/files permissions
- Make small global adjustments first
- Try one selective edit
- Review the exported file at its actual use size
Bottom line
Set up Photomator safely, choose the right photo access, learn the core adjustment sequence, and finish with a checked export. The most reliable approach is to test the feature with your own images, keep edits nondestructive where possible, and review the final export at the size and device where it will actually be used.