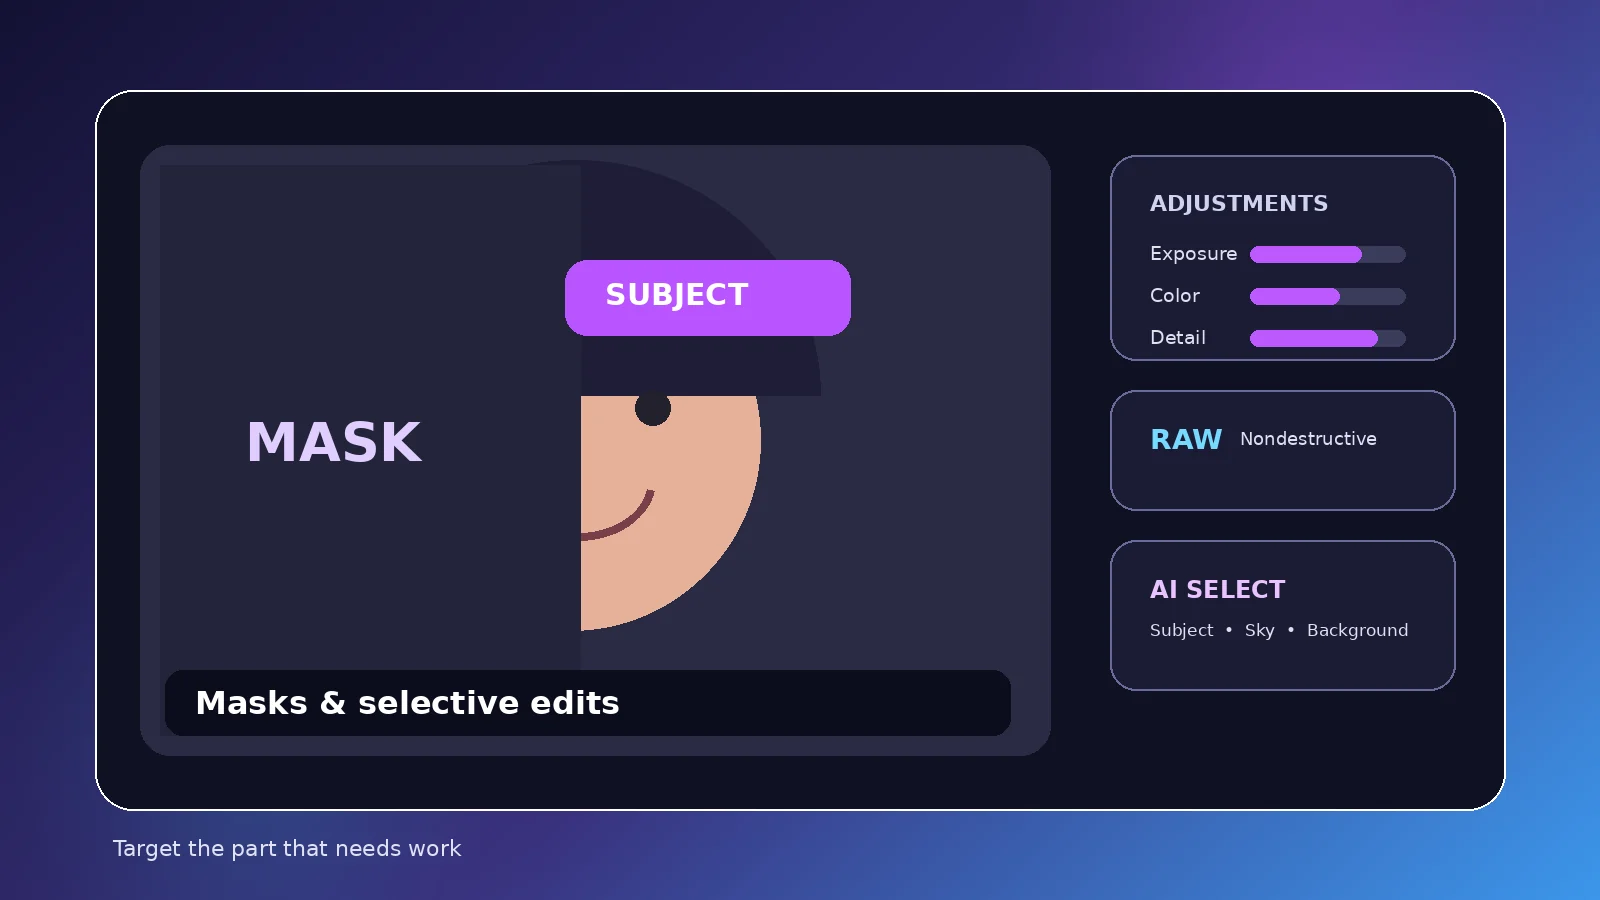
Selective adjustments are most useful when a global correction would improve one part of a photo and damage another. Here you will learn how subject, sky, background, brush, and gradient selections can isolate a change while keeping transitions believable.
What selective editing solves
Global adjustments change the whole frame. Selective adjustments let you correct the part that actually needs work: brighten a face, deepen a sky, cool a background, reduce saturation in one object, or guide attention toward the subject.
The goal is not to make every region independent. Local edits work best when they preserve the scene’s shared light and color logic.
Subject selections
Automatic subject selection is useful when the main subject is distinct from the environment. After creating the selection, inspect hair, fur, transparent edges, and narrow gaps. Those areas reveal mask errors faster than large solid shapes.
Use the selection as a starting point. A technically accurate mask can still produce an unnatural edit if exposure or color is pushed too far.
Sky and background selections
Sky selection can help balance bright outdoor scenes, while background selection is useful when you want the subject to stay relatively unchanged. Be especially careful around trees, buildings, horizons, and reflective surfaces.
If a sky adjustment creates a dark halo at the skyline, reduce the correction or refine the transition. A softer, smaller edit usually looks more photographic.
Brush masks
A brush is useful when automatic selection does not understand your intent. Paint only where the correction is needed, use a soft edge for gradual transitions, and zoom out frequently to judge the whole image.
Brush masks are especially effective for faces, small highlights, local color contamination, and subtle dodge-and-burn style shaping.
Gradient masks
Gradients create smooth transitions across skies, foregrounds, walls, or directional light. They are ideal when the correction should fade gradually rather than stop at a hard boundary.
Use them to gently darken a bright edge, lift a foreground, or guide attention without creating a visible edited zone.
Combine tools thoughtfully
A complex photo may need an automatic selection plus a small brush refinement. Keep the number of masks manageable and name or organize your intent mentally: subject exposure, sky color, foreground lift. Too many overlapping adjustments can become difficult to diagnose.
Quality check before export
Toggle the local edits off and on, then inspect at both 100% and fit-to-screen views. Look for halos, abrupt color shifts, crunchy texture, or areas that feel lit from a different world than the rest of the frame.
A successful selective edit usually feels obvious when removed but unobtrusive when present.
Practical checklist
- Start from the broadest useful selection
- Inspect difficult edges
- Use gradients for soft transitions
- Avoid stacking unnecessary overlapping masks
- Check the whole image after local edits
Bottom line
Use automatic and manual selections to target local corrections while protecting edges, texture, and natural transitions. The most reliable approach is to test the feature with your own images, keep edits nondestructive where possible, and review the final export at the size and device where it will actually be used.