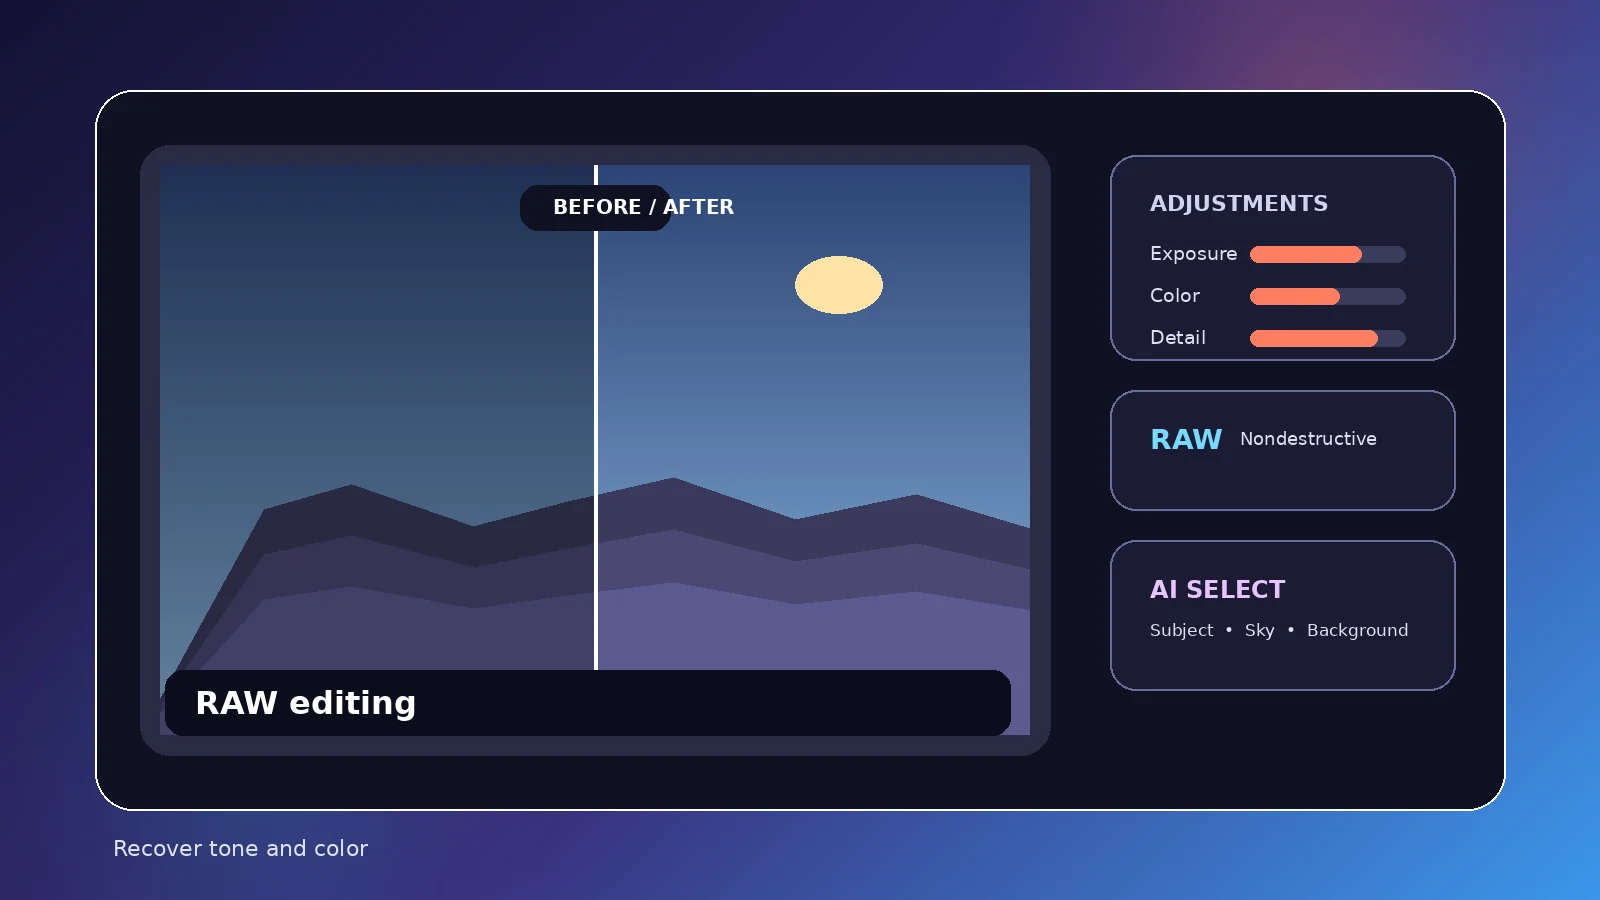
RAW editing gives you more latitude, but it also rewards a measured sequence. This guide starts with capture-dependent basics such as white balance and exposure recovery, then moves through color, local corrections, and export decisions without treating every slider as mandatory.
Why RAW changes the workflow
RAW files preserve more capture data than a finished JPEG, giving you more room to correct white balance, exposure, highlight detail, and shadow information. That flexibility is valuable, but it does not make every underexposed or clipped image recoverable.
Photomator’s current App Store descriptions include broad RAW support and Apple ProRAW. If you use a recently released camera or unusual RAW variant, confirm compatibility before planning a large job around it.
Start with white balance
Set temperature and tint before chasing individual colors. A neutral reference in the frame can help, but the “correct” value is still partly creative. Skin, snow, indoor lighting, and sunsets all make white-balance judgment more nuanced.
If the scene mixes different light sources, one global white balance may not solve every area. Get the overall image close, then use selective adjustments where necessary.
Recover exposure with restraint
Raise or lower exposure until the main subject feels natural, then use highlights and shadows to manage the extremes. Avoid flattening every bright and dark area merely because the sliders allow it. A believable photograph still needs shape and contrast.
The histogram helps you see tonal distribution, but it cannot tell you which highlights are allowed to clip or how dark a silhouette should feel. Use it as feedback, not as an automatic target.
Refine contrast and color
After basic recovery, Curves and Levels can add structure. Selective Color and Color Balance are useful when a specific range or tonal zone needs attention. Small adjustments stack up quickly in RAW files, so compare often against a simpler version.
Use local masks for difficult light
Subject, sky, background, brush, and gradient selections can isolate areas that need different treatment. A bright sky might need lower exposure while a face needs more shadow detail. Keep the transition soft enough that the edit does not announce the mask.
Apply Denoise only when useful
Lifting dark RAW files can reveal luminance or color noise. Denoise can help, but aggressive noise reduction may soften fine texture. Inspect hair, fabric, foliage, and small text before deciding how much processing is appropriate.
Export for the destination
A RAW file is usually a source, not the final delivery format. Export a high-quality finished version for the destination while keeping the editable source and nondestructive adjustments available for future revision.
If the image is going to print, social media, a website, or another editor, choose dimensions and compression with that destination in mind instead of exporting one universal file for every use.
Practical checklist
- Confirm RAW compatibility
- Set white balance and exposure first
- Protect natural contrast
- Use masks where global corrections fail
- Judge Denoise and sharpening at realistic magnification
Bottom line
Build a disciplined RAW edit from white balance and tonal recovery through selective color work and final output review. The most reliable approach is to test the feature with your own images, keep edits nondestructive where possible, and review the final export at the size and device where it will actually be used.