
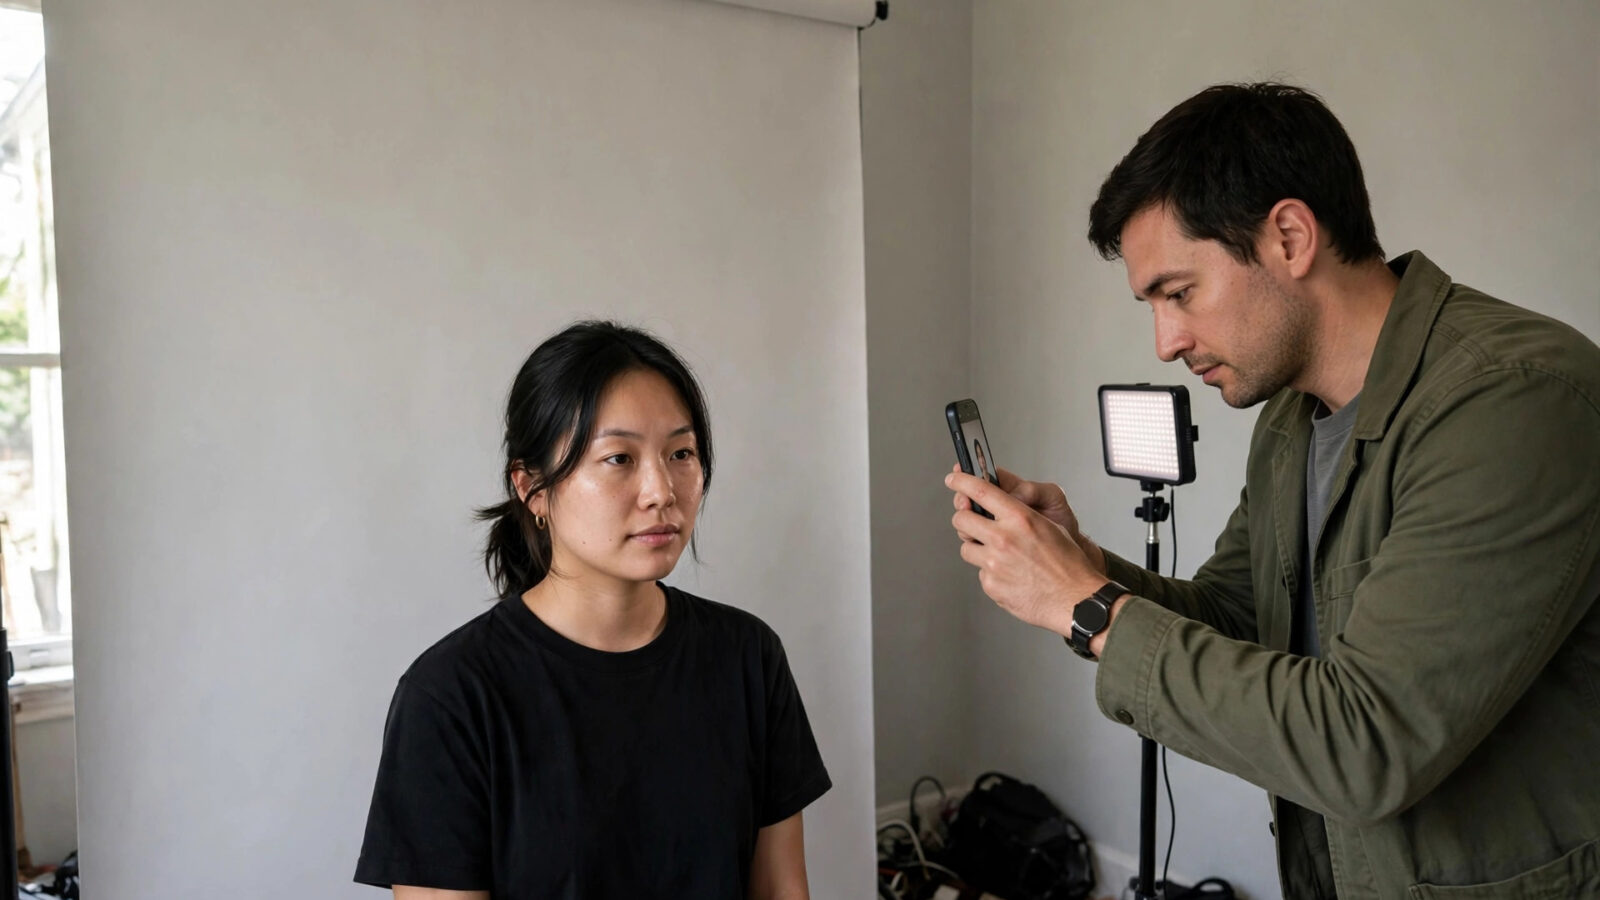
Learning how to edit passport photos in Photomator for correct sizing starts with the official requirements for the document you need. Passport and identity photo rules differ by country and by issuing authority, so the safest workflow is to confirm the required dimensions, background, head position and file format before you crop anything. Photomator can then help you shape a well exposed portrait into the required frame, check the result at full size and export a clean file that keeps the face natural and easy to recognise.
This guide explains a practical, repeatable workflow. It focuses on sizing and proportion, straightening and cropping, light and colour, background checks and export. It does not replace the official guidance for your passport, visa or identity document. When a rule is unclear, check the issuing authority first and use Photomator only to prepare the image to that specification.
Start With the Official Requirements
Before you open the photo, write down the exact specification you must meet. Most authorities publish the required image width and height, the acceptable head height or head position, the background colour, the expression and the file type. Some also state a minimum resolution, a maximum file size or a rule about shadows, glasses and head coverings. Keep that page open while you edit so you can compare your crop with the published example.
Choose a source photo that gives you room to crop. A portrait taken from a reasonable distance, with the head centred and some space above the head and around the shoulders, is much easier to size correctly than a tight selfie. The background should already be close to the required colour, the face should be evenly lit, and the image should be sharp at full size. If the original is blurred, dark or heavily compressed, editing will not reliably restore the detail an official photo needs.
Work nondestructively where you can. Photomator edits can be revisited, so you can test a crop, compare the result and refine the position without permanently changing the original file. Save or export a copy for the passport application and keep the original untouched in case you need a different size later.
Set the Correct Crop Ratio in Photomator
Open the photo in Photomator and go to the crop controls. Set the crop to the ratio required by the issuing authority rather than guessing by eye. If the authority gives exact pixel dimensions, use the ratio that matches those dimensions and check the exported pixel size at the end. If it gives only a ratio or a printed size, use that ratio and keep the resolution high enough for a sharp print or upload.
Position the head carefully inside the frame. The eyes should sit at a natural height, the full head should be visible, and the space above the head should match the published example. Avoid cropping into the top of the head or leaving so much empty space that the face becomes small. Use the crop grid or guides if they help you keep the face centred and level. Small changes in position matter more in a passport photo than in a general portrait because the frame is small and the proportions are checked closely.
Straighten the image before you finalise the crop. A tilted head can make an otherwise correct photo look uneven and can shift the head position. Use the straighten and perspective controls to level the image, then adjust the crop again so the head returns to the correct place. For a closer look at the crop and straighten workflow, see the guide to straightening and cropping photos in Photomator on Mac.
Refine Light, Colour and Sharpness Naturally
Passport photos should look like the person in normal, even light. Start with exposure and contrast, and correct any strong colour cast so skin looks natural. Keep white balance neutral rather than warm or cool, and avoid heavy filters, strong vignettes or dramatic contrast that changes how the face appears. The goal is clarity, not a stylised portrait.
Check highlights and shadows on the face. Bright areas should not lose detail, and shadows should not hide one side of the face. Use gentle highlight and shadow recovery if needed, and inspect the eyes, nose and jaw at full size. If the photo was taken in mixed light, correct the overall colour first and then make only small local adjustments. A selective adjustment can help balance a bright background or a shadow on one cheek, but it should remain invisible in the finished photo.
Keep sharpening restrained. A small amount of clarity or detail can help a soft image look defined, but too much sharpening creates halos around hair and edges that look unnatural. Use Denoise only if the photo has visible noise, and compare the result at full size before you keep it. The face, hair and background should look smooth and clean without looking smoothed over or artificial.
Check the Background and Remove Distractions
Most passport specifications require a plain, light background with no patterns, objects or other people. Inspect the background at full size after cropping. Look for shadows behind the head, door frames, plants, picture edges and uneven colour. If a small distraction sits close to the edge of the frame, a careful crop may remove it. If it sits behind the head, decide whether the photo still meets the specification or whether a new source photo would be safer.
Repair and Clone tools can help with small marks, but they should not be used to change the background colour, reshape the head or alter facial features. Passport and identity photos are checked for a faithful likeness, so retouching should stay limited to minor, honest cleanup. Do not smooth skin heavily, whiten eyes or teeth, slim the face or change hair, glasses or clothing in a way that alters appearance. When in doubt, keep the edit minimal and take a fresh photo in better light.
Check clothing and shoulders as well. The shoulders should be visible and level, and clothing should not blend into the background in a way that makes the outline unclear. A simple, contrasting top usually photographs well against a light background. Avoid busy patterns that draw attention away from the face.
A Step by Step Passport Sizing Workflow
- Confirm the official dimensions, ratio, background, head position and file format for your document.
- Choose a sharp, evenly lit portrait with space around the head and shoulders.
- Open the photo in Photomator and straighten it so the head is level.
- Set the crop ratio to the required specification and position the head centrally.
- Correct exposure, white balance and contrast for a natural, neutral result.
- Inspect the background, edges and face at full size and remove only minor distractions.
- Export at the required pixel size and file type, then open the exported file and check it again.
Work through the list slowly rather than rushing to export. A second check at full size often reveals a tilted crop, a shadow or a soft edge that was easy to miss in the editing view. If the exported file looks different from the editing preview, compare the dimensions and the crop position before you submit it.
Export Settings and Final Checks
Export settings depend on whether the photo will be uploaded or printed. For an upload, use the file type, pixel dimensions and maximum file size stated by the authority. For print, use a high resolution file and check that the printed size matches the required dimensions. Name the exported file clearly so you do not confuse it with an earlier test version.
Before you use the photo, open the exported file on its own. Check the head size and position, the background, the sharpness of the eyes and the overall colour. View it at the size it will be seen, whether that is a small upload preview or a printed photo. If anything looks soft, tilted or uneven, return to the edit, adjust the crop or exposure and export again. It is better to repeat the export than to submit a photo that may be rejected for a preventable sizing or quality issue.
Keep a copy of the finished edit in Photomator if your workflow allows it, so you can produce another size for a different document without starting again. Record the crop ratio and export size you used, especially if you prepare photos for family members or for more than one type of application. Consistent notes make the next passport photo faster and less prone to error.
The same care with proportion and framing helps other formal portraits too. The approach used for a passport photo also applies to a clean profile image, as explained in the guide to editing a LinkedIn profile photo in Photomator, where a centred head, even light and a tidy background matter just as much.
Common Mistakes to Avoid
A common mistake is to crop first and check the requirements later. That often leads to a face that is too large, too small or too close to an edge. Another mistake is to apply a favourite preset or filter before checking colour. Presets can shift skin tones and background colour in ways that break a specification, so start from a neutral edit and add only what the photo needs.
Avoid overexposing the background to pure white if the authority requires a specific light colour, and avoid adding a heavy vignette or shadow that changes the background. Avoid exporting a small, compressed file when a larger, sharper file is allowed. Finally, avoid submitting the first export without opening it. The final check is a small step that protects the whole workflow.
Frequently Asked Questions
Can Photomator crop a photo to an exact passport size?
Yes, Photomator crop controls can be used to set the ratio that matches an official specification, and the exported pixel size can then be checked against the published requirement. Always confirm the exact dimensions and ratio with the issuing authority first, because they differ by country and document type.
What should I check before I start editing a passport photo?
Check the required dimensions, background, head position, expression, file format and resolution. Also check that the source photo is sharp, evenly lit and has enough space around the head for a correct crop.
Should I use filters or presets on a passport photo?
No, keep the edit neutral and natural. Correct exposure, white balance and contrast as needed, but avoid filters, strong colour shifts, heavy skin smoothing and dramatic effects that change how the person looks.
How do I know if the head size is correct?
Compare the cropped photo with the example published by the issuing authority. Check that the full head is visible, the eyes are at a natural height and the space above the head matches the example. Inspect the exported file at full size before you submit it.
What export format should I use for a passport photo?
Use the file type, pixel dimensions and size limit stated by the issuing authority for upload or print. Export a high quality file, open it on its own and confirm the size, sharpness and colour before you use it.