
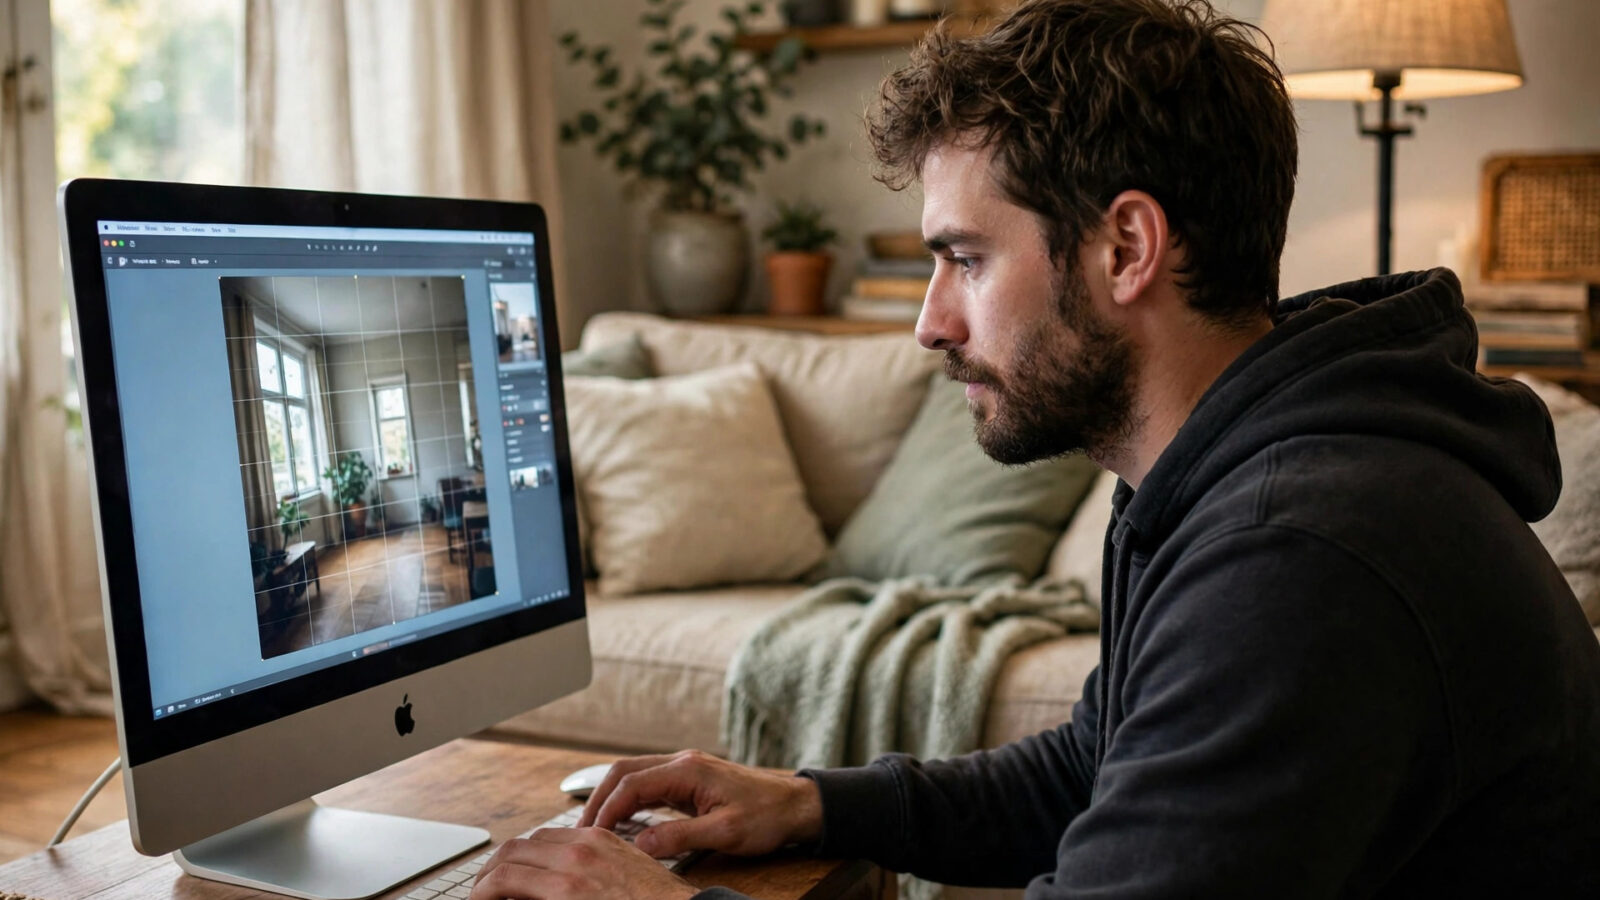
Interior photos often look tilted even when the room is not. Walls lean inward, door frames converge, and ceilings seem to slope, especially when the camera is tilted up or down or a wide lens is used close to a wall. The effect is called converging lines, and it makes a room feel smaller, less balanced, and harder to trust, which matters for real estate, rental listings, and portfolio photos alike.
Photomator includes perspective correction for exactly this problem. This guide explains how to straighten converging lines in Photomator for interior photos, how to judge how far to go, and how to finish the edit so the room looks clean, spacious, and true to life.
Understand converging lines in interiors
Converging lines happen when the camera is not level with the subject. Tilt the camera up to include a ceiling, and vertical lines lean inward at the top. Tilt it down, and they lean at the bottom. A wide lens close to a wall exaggerates the effect. The result is not a flaw in the room, it is geometry, and it can be corrected in editing without rebuilding the photo.
Before correcting, look at the strongest verticals in the room: door frames, window frames, wall corners, and shelving. Those are your reference lines. Decide which lines should be vertical in the finished photo, and check the horizontals too, such as worktops, shelves, and the line where wall meets floor. A good correction makes both sets of lines feel natural at the same time.
Straighten and correct perspective in Photomator
In Photomator, open the photo and use the straighten and perspective tools together. Start with straightening, rotating the photo until the main horizontal, such as a worktop or shelf, is level. Then apply perspective correction, adjusting verticals until door and window frames stand upright. Work gradually, checking the whole room after each adjustment, because a small correction often solves the problem and a large one can make the room look stretched or distorted.
Watch the edges as you correct. Perspective correction can pull the corners inward and leave empty areas at the edges, so you may need to crop slightly after correcting. Crop to keep the room balanced, preserving important detail at the edges, such as a window or a piece of furniture, and avoiding a crop that cuts through a door frame or a worktop.
Balance light, colour and space
Once lines are straight, balance the rest of the photo. Interior photos often have mixed light, with daylight from windows and warm artificial light inside, so set white balance to a neutral compromise that keeps walls looking clean without making them cold. Balance exposure with masking, so bright windows do not blow out and dark corners still show detail, and keep saturation restrained so wall colours and wood tones look natural.
Check the sense of space. A corrected interior should feel open and easy to read, with clear lines leading the eye through the room. Avoid oversharpening, which can make walls and floors look harsh, and avoid heavy vignetting, which can make a room feel smaller. A light, even finish suits most interior photos.
Consistency and export
For a set of interior photos, such as a property listing, keep the correction consistent. In Photomator, note the straighten and perspective settings that work for one room, apply a similar approach across the set, and refine each photo for its own camera angle and lens. Keep white balance and exposure consistent too, so the rooms feel like one property rather than a collection of unrelated shots.
Export at full quality for listings and portfolios, and keep a high-quality master. When you are reading other Photomator how-to guides, you will see the same advice. A straight, balanced interior photo builds trust, and the edit should support the room, not draw attention to itself.
Frequently asked questions
Why do walls lean in my interior photos?
Walls lean when the camera is tilted up or down or a wide lens is used close to a wall, causing vertical lines to converge. It is geometry, not a flaw in the room, and it can be corrected with straightening and perspective correction in Photomator.
Should I straighten or correct perspective first?
Straighten first, so the main horizontal is level, then apply perspective correction until door and window frames stand upright. Work gradually and check the whole room after each adjustment.
Why does perspective correction leave empty edges?
Correcting perspective can pull the corners inward, leaving empty areas at the edges. Crop slightly after correcting, keeping the room balanced and preserving important detail at the edges.
How do I keep interior colours natural?
Set white balance to a neutral compromise for mixed daylight and artificial light, keep saturation restrained, and balance bright windows against dark corners with masking, so walls and wood tones look clean and natural.
Can I batch correct a set of interior photos?
Yes. Use a consistent straighten and perspective approach across the set, refine each photo for its own camera angle, and keep white balance and exposure consistent so the rooms feel like one property.