
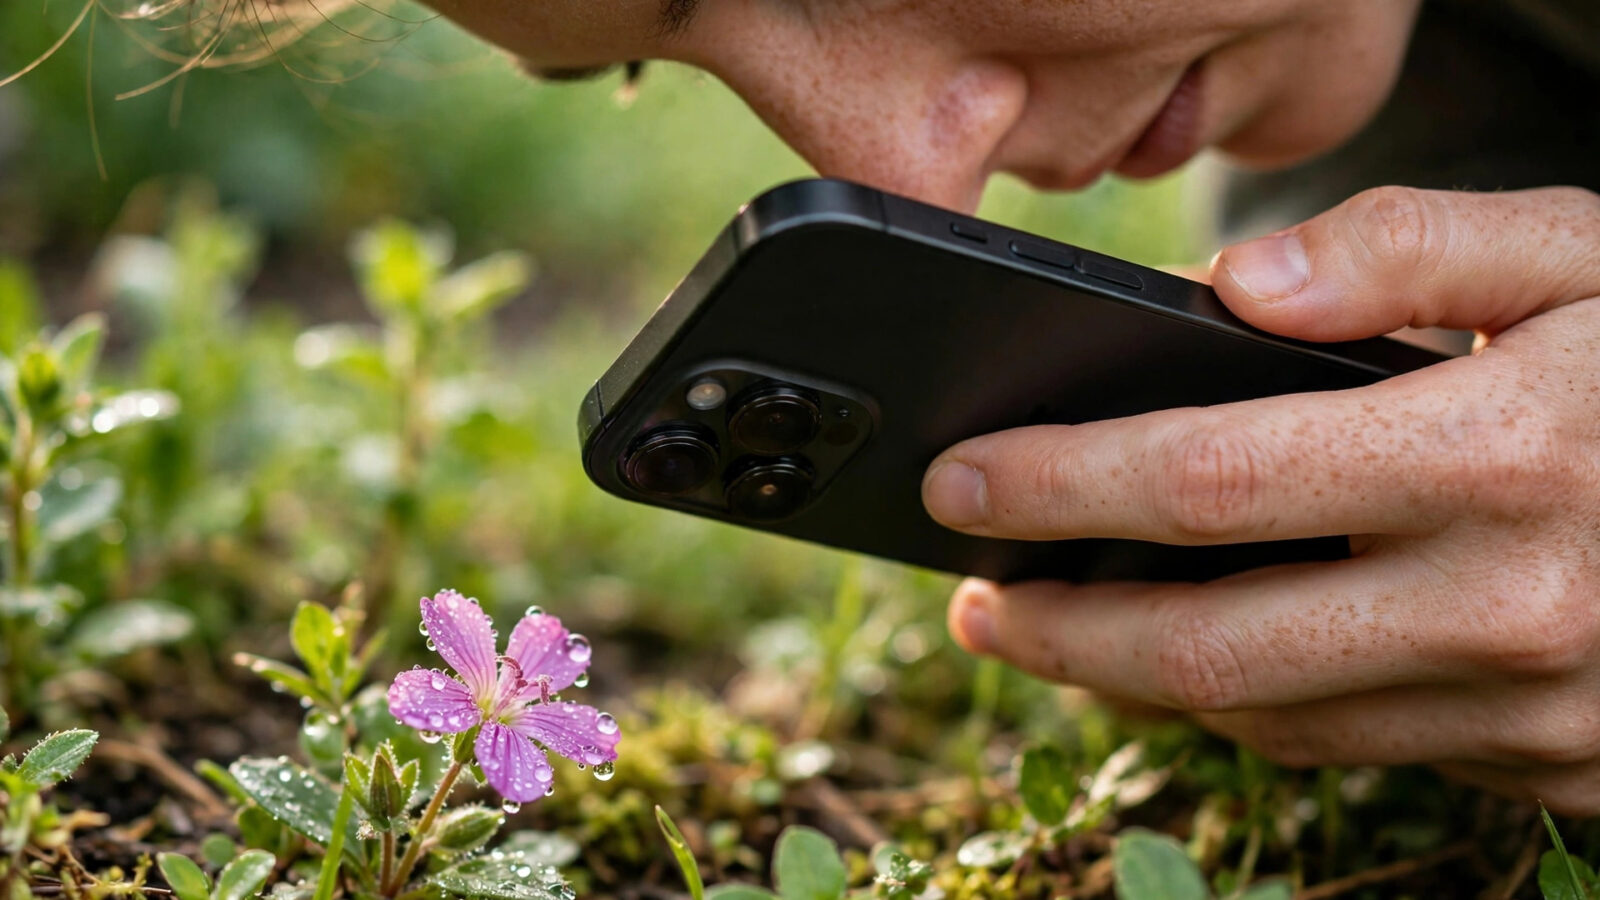
Macro photo editing in Photomator on iPhone rewards patience. A close-up photograph shows everything, including the texture of a petal, the grain of wood and the dust you did not notice when you pressed the shutter. The editing job is therefore a careful one: strengthen what is already sharp, keep colour honest, and remove distractions without making a small subject look artificial.
This guide covers the full editing process in Photomator on iPhone, from the first full-size inspection to a clean export. It does not assume a separate macro capture mode in Photomator. Instead, it uses the editing tools Photomator already provides, applied with the restraint that close-up work demands, so the finished photograph still feels like the subject you saw.
Start With a Full-Size Inspection
Before changing anything, open the photograph and look at it at full size. Zoom into the area that should be sharpest, usually an eye, a stamen or a textured edge, and check whether the focus landed where you intended. If the sharpest point is slightly off, a small crop can sometimes re-centre the composition, but no edit can create detail that was never recorded, so the inspection step sets honest expectations for the rest of the work.
Also check the edges of the frame. Close-up photographs often include a stray leaf, a bright background patch or a shadow that pulls attention away from the subject. Noting those distractions early helps you decide whether to crop, to use a selective adjustment or to leave the frame alone. A short list of two or three problems is usually enough, and it keeps the edit focused.
Brightness deserves the same early look. A macro subject photographed in shade can look flat, while one in direct light can have blown highlights on a petal or an insect wing. Note which areas are too bright and which are too dark before you touch a slider, because exposure and white balance decisions made first will make every later choice easier to judge.
Correct Exposure and White Balance First
Exposure comes first in macro editing because close-up subjects depend on subtle tonal differences. A small increase in exposure can reveal texture in a shadow, while a small decrease can restore detail in a bright highlight. Move slowly, checking the subject at full size after each change, and stop as soon as the texture reads clearly. The goal is a natural range of tones, not a brighter photograph for its own sake.
White balance is just as important. Flowers, foliage and natural materials shift noticeably with a warm or cool cast, and a close-up view makes that shift hard to ignore. Start from a neutral balance, then make a gentle correction if the subject still looks too warm or too cool. Compare the result with your memory of the scene, and be wary of a correction that makes green foliage look yellow or a white petal look blue.
Contrast should stay gentle at this stage. A strong contrast increase can make a macro photograph look dramatic for a moment, then harsh on a second look, especially in fine texture. Prefer a light curve adjustment that separates the subject from the background without crushing shadows or clipping highlights. You can always add a little more later, after colour and detail work are settled.
Bring Out Natural Detail, Selectively
Detail work is where macro editing succeeds or fails. Photomator offers selective adjustments, sharpening and detail tools that can be applied to part of an image, and that selectivity matters. Sharpening the whole frame at a high strength will emphasise noise in a soft background and make a delicate subject look brittle. Sharpening only the subject, at a modest strength, keeps the result believable.
A useful order is to settle exposure and colour first, then apply detail work last. Check the result at full size, looking for halos along edges, a crunchy texture in smooth areas or noise that has become more visible. If any of those appear, reduce the strength rather than adding a second correction on top. In macro work, the lightest effective setting is usually the right one.
Denoise can help when a close-up was taken in low light and the file shows visible grain, but use it only if the photograph needs it. Heavy noise reduction can smooth away the fine texture that gives a macro subject its character. Similarly, Super Resolution and Smart Deband are best reserved for files that genuinely need them, applied at the lowest useful strength and checked at full size before export.
Use Colour to Support the Subject
Colour in a macro photograph should describe the subject, not overwhelm it. Curves and selective colour controls let you adjust a specific range, such as the green of a leaf or the warm tone of wood, without shifting the whole image. Start with the dominant colour of the subject, make a small change, and check whether the subject still looks like itself. If the colour starts to look painted or electric, undo and try a smaller adjustment.
Saturation needs particular care. A modest increase can restore colour that flat light has washed out, but an aggressive increase will make petals and foliage look unreal, especially when viewed large. Vibrance-style thinking helps: protect skin-like and mid-tone colours, and let the strongest colour in the frame stay just strong enough to lead the eye to the subject.
Presets and LUTs can give a series of close-ups a consistent feel, which is useful when you photographed several subjects in the same light. Treat a preset as a starting point, then adjust exposure, white balance and detail by hand for each photograph. A preset that suits a bright flower may push a shaded leaf too far, so consistency should come from your judgement, not from applying the same settings blindly.
Crop, Straighten and Clean the Frame
Cropping is a powerful macro tool because it changes what the viewer notices first. A tighter crop can remove an empty corner, place the subject on a stronger part of the frame and give fine texture more room to breathe. Crop in small steps, keeping the subject whole unless a deliberate partial crop improves the composition, and check that the remaining resolution still supports the size at which the photograph will be viewed or printed.
Straightening matters more in close-up work than many editors expect. A tilted horizon in the background, or a stem that leans unintentionally, can make a careful macro photograph feel careless. Use a gentle straightening adjustment, then re-check the crop, since straightening often requires a slightly tighter frame to remove the empty corners it creates.
For small distractions, Repair and Clone tools can remove a speck of dust, a stray hair or a small blemish without rebuilding the scene. Work at full size, use the smallest brush that covers the problem, and sample from nearby texture that matches the surrounding area. If a repair starts to look repeated or smudged, undo it. In macro photography, an honest small imperfection is better than an obvious repair.
A Practical Macro Workflow on iPhone
The following workflow brings the steps above together in the order that works best on iPhone, where the screen is small and full-size checks matter even more. Keep the original file safe, work nondestructively, and compare with the original before exporting.
- Inspect the photograph at full size, noting focus, exposure, colour and any distractions.
- Correct exposure and white balance, keeping the result neutral and natural.
- Refine colour with curves or selective controls, checking the subject’s dominant colour as you go.
- Apply selective detail work to the subject only, at the lowest useful strength.
- Crop and straighten in small steps, then remove small distractions with Repair or Clone.
- Compare the edit with the original, check it at full size, and export at the size required for sharing or printing.
Working on iPhone also means paying attention to the viewing environment. Edit in consistent light where possible, avoid judging colour under a strong colour cast from a lamp, and give your eyes a short break before the final check. A photograph that looks right after a break is more likely to look right to someone seeing it for the first time.
For close-up portraits and small subjects with eyes, the same selective habits apply. The guide to editing portraits in Photomator on iPhone covers careful skin and eye work, while the guide to editing pet photos for sharp eyes and natural fur shows how selective detail can help animal close-ups without making fur look artificial.
What to Avoid in Macro Editing
The most common macro mistake is over-processing. Stacking strong sharpening, strong contrast and strong saturation on top of each other can make a photograph look impressive in a thumbnail and tiring at full size. If you find yourself adding tool after tool, step back, compare with the original, and remove the change that contributed least. A macro photograph usually needs fewer strong moves, not more.
Another mistake is editing only at a small zoom level. Decisions about focus, detail and repairs must be checked at full size, because that is where the problems and the improvements are visible. A change that looks fine in a small preview can reveal halos, noise or a smeared repair when the photograph is viewed large, so make full-size checks a habit at every stage.
Finally, avoid assuming that every close-up needs the same treatment. A flower in soft light, an insect in bright sun and a textured surface in shade each need different exposure, colour and detail decisions. The consistent habit is the process: inspect, correct gently, refine selectively, compare and export. The settings should change with the subject.
Frequently Asked Questions
Does Photomator have a macro capture mode?
Photomator is a photo editor, and this guide focuses on editing close-up photographs on iPhone rather than on a separate capture mode. Use your iPhone camera to capture the close-up, including any close-focusing feature your model offers, then refine the result in Photomator with exposure, colour, selective detail and cropping.
How do I keep macro photos sharp without making them look artificial?
Apply detail work last, only to the subject, and at the lowest useful strength. Check the result at full size for halos or crunchy texture, and reduce the strength if the subject starts to look brittle. Comparing with the original is the fastest way to tell whether the sharpening has helped or harmed the photograph.
Should I use Denoise on every macro photo?
No, use Denoise only when the file shows visible noise, usually from low light. Heavy noise reduction can smooth away the fine texture that makes a close-up convincing, so apply it sparingly and check the subject at full size before exporting.
What is the best crop for a macro photo on iPhone?
There is no single best crop. Crop in small steps to remove distractions, place the subject strongly in the frame and keep enough resolution for the intended use. Keep the subject whole unless a partial crop clearly improves the composition, and re-check the crop after any straightening.
Can I batch edit macro photos in Photomator?
Batch editing can help when a set of close-ups shares the same light and setting, but macro photographs usually reward individual checking. Use a batch edit as a starting point for exposure and colour, then review each photograph at full size and refine focus, detail and cropping individually before exporting.