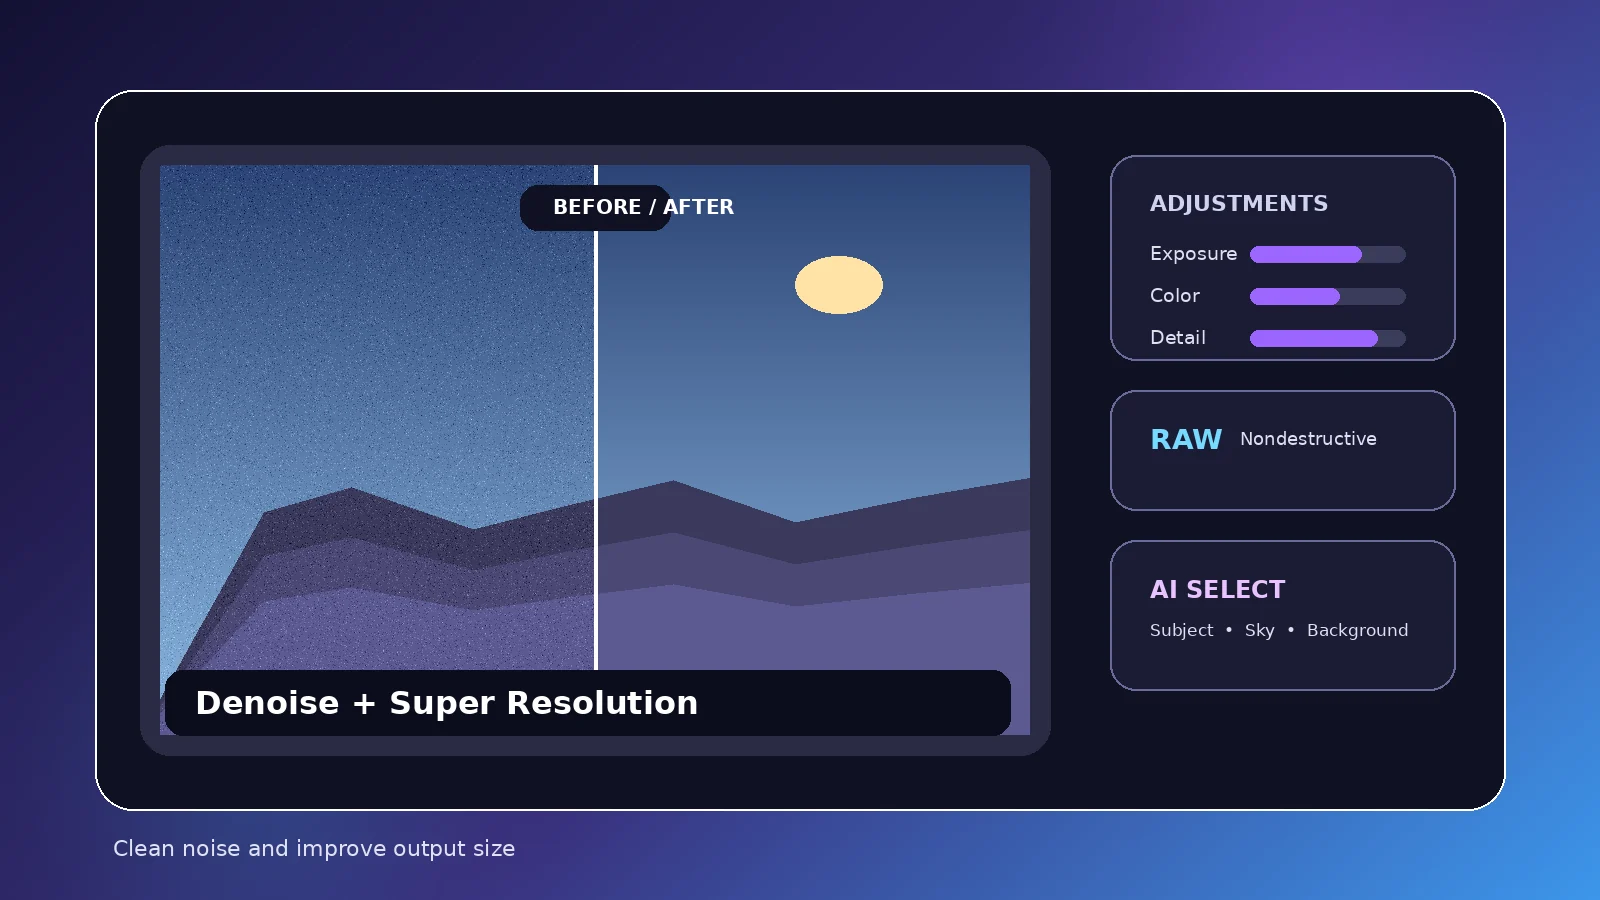
Denoise and Super Resolution address different weaknesses: one aims to reduce unwanted noise, while the other creates a larger output from a limited source. The practical question is not whether either tool can be applied, but whether the final image gains more than it loses.
Denoise solves a specific problem
Digital noise often becomes visible in high-ISO, underexposed, or heavily lifted images. Photomator’s Denoise feature is intended to reduce camera noise and compression artifacts so the image looks cleaner.
Noise itself is not always bad. Fine grain can preserve texture and atmosphere, so the target is usually distracting noise—not an unnaturally smooth file.
Evaluate noise at useful magnification
Inspect shadow texture, skin, foliage, fabric, and fine architectural detail. At extreme zoom, every image can look imperfect; make the decision at a magnification relevant to the final output.
If the image is destined for a small social post, aggressive pixel-level cleanup may offer little visible benefit.
Denoise trade-offs
Strong noise reduction can soften texture or create a waxy look. Compare before and after on detailed areas and keep the cleaner version only if it still retains believable structure.
For RAW files, consider basic exposure and color first so you are judging noise in something close to the final tonal state.
What Super Resolution does
Super Resolution intelligently increases image dimensions. It can be useful for a crop that needs more output pixels, a small source intended for larger display, or a workflow that benefits from a bigger file.
It is enhancement, not time travel: the process can estimate plausible detail, but it cannot recover every piece of real information that the original sensor never captured.
When upscaling helps
Use it when the source is genuinely resolution-limited and the output demands a larger file. If the original already has sufficient dimensions for the destination, upscaling may add processing and storage without meaningful visible benefit.
Order of operations
A practical approach is to establish the crop and overall edit first, then decide whether noise reduction or enlargement is necessary. Apply enhancement because the destination requires it, not merely because the tool exists.
Quality check
Compare edges, text, hair, fine repeating patterns, and smooth gradients. Look for plastic texture, ringing, false detail, or sharpened noise. The best setting is the one that improves the intended output without introducing a new distraction.
Practical checklist
- Process because the output needs it
- Judge noise in the near-final tonal state
- Protect fine texture
- Upscale only when dimensions are genuinely limiting
- Inspect edges and repeating detail after processing
Bottom line
Decide when a noisy file needs cleanup, when a small image genuinely needs enlargement, and how to inspect processing artifacts. The most reliable approach is to test the feature with your own images, keep edits nondestructive where possible, and review the final export at the size and device where it will actually be used.