
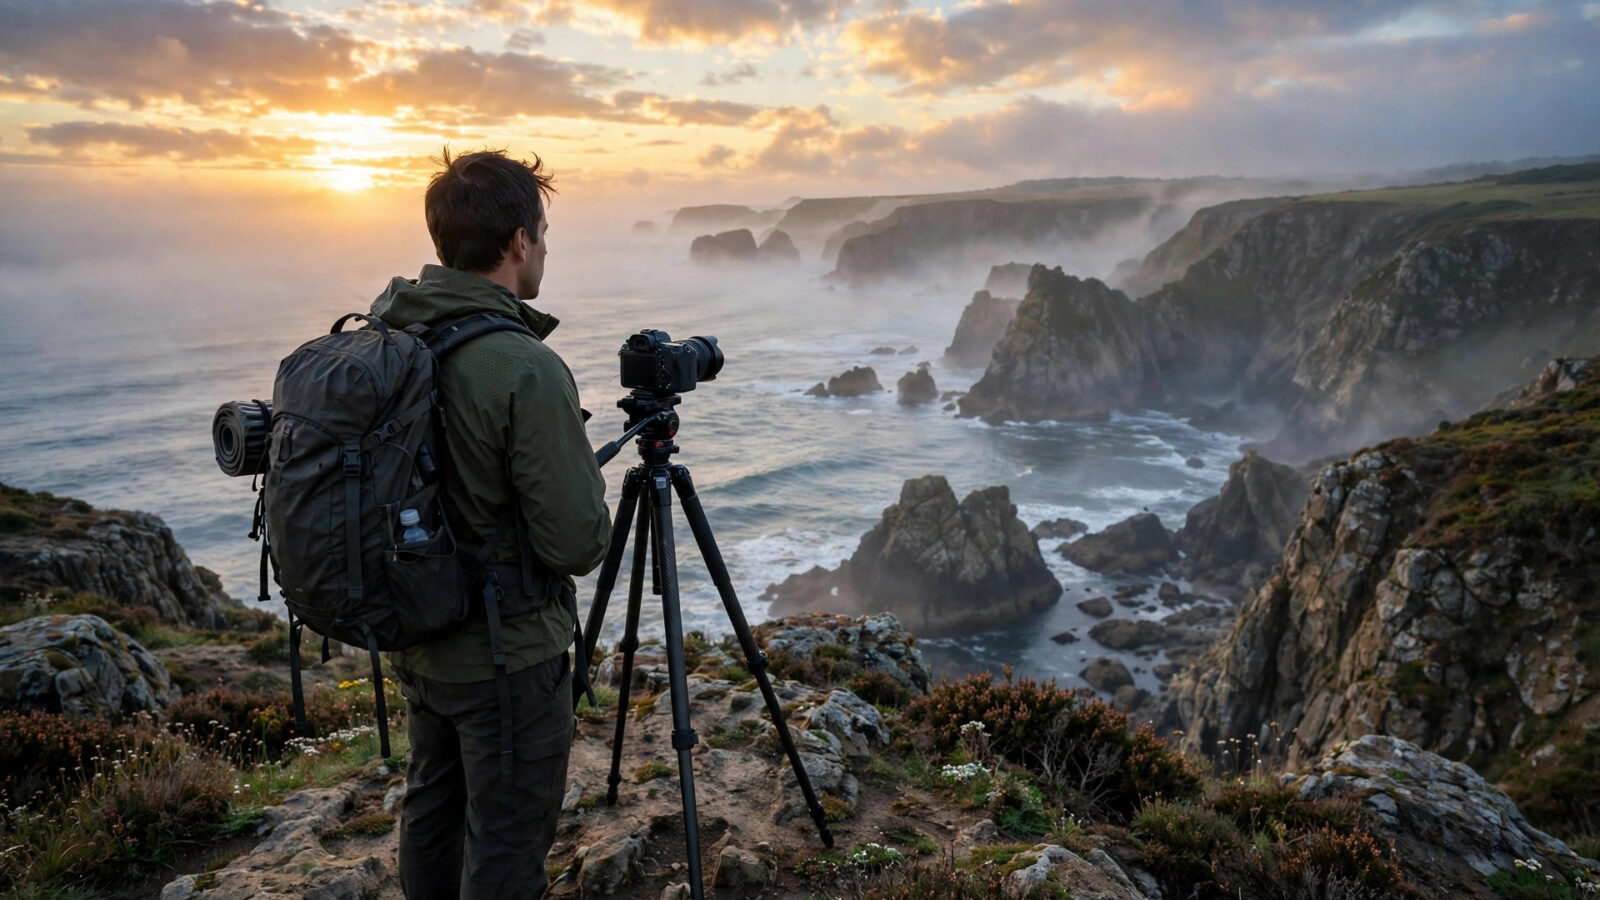
A landscape photograph asks for patience twice. First the photographer waits for the light, and then the editor waits for the image to settle into its best form. This Photomator review for landscape photographers looks at how well the editor supports that second wait, from RAW files and wide tonal range to sky detail, colour control and the batch work that follows a morning on a hillside.
Photomator is a photo editor for Mac, iPhone and iPad, with Apple Vision also presented as a supported platform on this site. It edits nondestructively, works with RAW and Apple ProRAW files, and keeps the original image intact while adjustments are refined. For landscape work that matters, because a scene that looked flat at first glance can often be recovered with careful exposure and colour work, while a scene that was over-edited at the start is harder to bring back.
What Landscape Photographers Actually Need From an Editor
A landscape editor must first handle tonal range honestly. Mountain light, sea haze, forest shade and bright cloud in one frame create a spread of brightness that a single global adjustment rarely serves well. An editor earns its place when exposure, highlights, shadows and curves can be shaped gradually, without banding or a harsh break between sky and land.
Colour is the second requirement. Landscape colour should feel like the place, not like a filter placed over it. Greens should stay distinct from each other, rock should keep its texture, and a sunset should hold warmth without turning the whole frame orange. Selective colour and curves controls help here, because they allow one part of the image to be corrected without pushing everything else in the same direction.
Detail is the third requirement, and it needs restraint. A landscape image is often viewed large, so sharpening and noise reduction show quickly when they are overdone. Fine detail in grass, stone and water should look natural at full size, not crunchy or smoothed into a plastic surface. Photomator tools such as Denoise, Super Resolution and Smart Deband can help in difficult files, but they are best used only where the file actually needs them.
RAW Editing and Tonal Control
Landscape photographers who shoot RAW gain the most from an editor that respects the file. RAW files hold more highlight and shadow information than a finished JPEG, and that headroom is what makes a bright sky and a dark foreground recoverable in the same image. Photomator supports RAW and Apple ProRAW editing, and its nondestructive workflow means white balance, exposure and tone can be revisited after the first edit without starting again.
A useful order is to settle white balance first, then exposure, then the highlight and shadow balance, and only then colour. White balance sets the mood of the whole scene, and correcting it late often means redoing colour work that followed it. Exposure should be judged at full size and at a smaller preview size, because an edit that looks strong on a large screen can look heavy when the image is shared at a smaller size.
Curves and levels give finer control than sliders alone when a landscape needs a gentle lift in the shadows or a soft roll-off in the highlights. Small moves are usually enough. A curve that is pulled too far creates contrast that looks dramatic for a moment and artificial on a second viewing. The histogram is a helpful check here, especially for scenes with snow, mist or bright water, where the screen can mislead the eye.
For a closer look at working with skies in Photomator, the guide to AI sky masking for better landscape photos shows how a sky selection can be separated from the land below it, so each part of the scene can be treated on its own terms.
Sky, Selection and Selective Editing
The sky often decides whether a landscape photograph works. A bright sky can dominate the frame, while a flat sky can leave the image feeling empty. Photomator offers AI-based selection for subjects, sky and background, which lets the sky be adjusted separately from the foreground. In practice this means exposure and colour in the sky can be pulled back without darkening a valley, a lake or a mountain face that already sits in shadow.
Selective editing rewards a light touch. A small reduction in sky highlights, a gentle warming of late light, or a slight lift in foreground shadow usually reads more naturally than a strong split between two halves of the image. The join between sky and land deserves a close look at full size, especially around trees, ridgelines and distant haze, where a selection edge can show if the adjustment is pushed too far.
Repair and Clone tools have a quieter role in landscape work. A sensor spot in a clear sky, a stray sign at the edge of a field, or a distracting branch can be removed without changing the character of the scene. The aim is a cleaner frame, not a different place. Distractions that are part of the location, such as a fence line or a walking path, are usually better left alone or cropped thoughtfully rather than painted out.
Presets, LUTs and a Consistent Landscape Look
Presets and LUTs help landscape photographers keep a consistent look across a set from one location or one trip. A preset can set a starting point for contrast, colour and tone, and then each image can be adjusted for its own light. That order matters. Applying the same strong preset to a misty morning and a harsh midday scene will flatter one and fight the other.
Photomator supports presets and LUTs, and the most reliable way to use them for landscapes is to build a small set of restrained starting points rather than a large library of dramatic looks. One preset for soft morning light, one for bright midday, and one for warm evening light will cover most landscape work, and each can be softened further for images that need less contrast or less saturation.
Consistency also comes from restraint in cropping. Landscape compositions often depend on a horizon line, a leading line or a sense of scale, and a crop that moves the horizon too close to the centre or cuts a foreground anchor can weaken the image. Straightening and perspective tools help when a horizon tilts or a viewpoint distorts a scene, but they should be used in small steps so the frame keeps its natural geometry.
Mountain scenes put these ideas to a direct test, because snow, rock and sky sit close together in tone and colour. The guide to mountain photo editing in Photomator covers that balance in more detail, including how to keep snow bright without losing texture and how to hold detail in rock without making it look harsh.
Batch Editing, Devices and Export
Landscape photographers often return with many similar frames from one location. Batch editing, with copied adjustments applied across a set, can bring those frames to a consistent starting point quickly. It works best when the frames share the same light. A set that spans sunrise, midday and dusk needs separate starting points, or the batch correction will suit one group and fight the others.
Batch work should always be followed by individual review. A frame with a different foreground, a passing cloud shadow or a change in haze needs its own correction, even when it was shot minutes after the frame before it. The most useful batch workflow is therefore a first pass, not a finished edit, and the final check should be made at full size for the images that will be printed or shared at large sizes.
Most landscape photographers will do the detailed work on a Mac, where a larger screen and precise controls suit careful tonal and colour decisions. The iPhone and iPad versions are useful companions for reviewing a set, making first-pass adjustments and checking how an image reads at a smaller size. Sync through iCloud and Photos, where it is used, can help a photographer move between devices without duplicating files, though a reliable backup of originals should always be kept separately.
Export is the last step where landscape quality is won or lost. An image edited carefully at full resolution should be exported at the size and format its destination needs, with a final check for banding in smooth skies and for detail loss in fine texture. A sky that looked smooth in the editor can band after heavy compression, so it is worth checking the exported file itself, not only the on-screen preview.
Limits and Honest Drawbacks
Photomator is a strong editor for landscape work, but it has limits that should be weighed honestly. Photographers who need complex compositing, exposure blending from multiple frames inside one editor, or specialised panorama stitching will need other tools alongside it. This review does not present Photomator as a replacement for a full compositing or stitching workflow.
Pricing and trial terms change, and this review deliberately does not state them. A landscape photographer should check the current App Store listing for pricing, trial terms, supported devices and operating system requirements before deciding. The same listing should be checked for the latest supported version, because feature availability can vary by device and version.
Performance also depends on the device and the file. Large RAW files from a high-resolution camera demand more processing and storage than smaller files, and older devices will handle them more slowly. That is a property of the files as much as of the editor, but it is worth testing with real files from your own camera before committing to a workflow.
A Practical Landscape Workflow in Photomator
The following workflow brings the points above together in a repeatable order for a landscape set.
- Import the set and review it at full size, noting the lighting situations that need different starting points.
- Correct white balance and exposure for one representative frame from each lighting situation, using curves for fine tonal control.
- Treat the sky separately where needed, using selection to hold back highlights without darkening the foreground.
- Apply a restrained preset or copied adjustments as a batch starting point for frames that share the same light.
- Review every keeper individually, correcting colour, selective detail and small distractions where needed.
- Crop and straighten in small steps, check exports at the sizes the image will be viewed, and compare with the original before finishing.
This order keeps the big tonal decisions early, when the eye is fresh, and leaves the fine corrections for later, when each image can be judged on its own merits.
Who Should Choose Photomator for Landscapes
Photomator is a strong choice for a landscape photographer who values natural colour, nondestructive RAW editing and a calm, focused editing experience across Mac, iPhone and iPad. It suits photographers who prefer to shape light and colour gradually, and who want an editor that stays out of the way of the image itself.
It is a weaker fit for a photographer who needs a single system to handle panorama stitching, focus stacking or heavy compositing, or who relies on third-party plug-ins that Photomator does not support. In those cases it can still serve as the main editing stage, with specialist tools used only where they are actually needed.
The fairest way to decide is to test it on a complete set from one location, under the conditions you actually shoot in. Edit the mist, the bright sky and the low evening light, export at the sizes you use, and judge the results at full size. A review can describe an editor, but only your own files can show whether it fits your landscapes.
Frequently Asked Questions
Is Photomator good for landscape photographers?
Photomator can be a good choice for landscape photographers who value natural colour, nondestructive RAW editing and careful tonal control. It suits photographers who prefer to shape light gradually, rather than applying a single dramatic look to every scene.
Can Photomator handle RAW landscape files from a high-resolution camera?
Yes, Photomator supports RAW and Apple ProRAW editing, and its nondestructive workflow keeps the original file intact. Large files will need more processing time and storage, so it is worth testing with files from your own camera before settling on a workflow.
How do I keep skies from looking over-edited in Photomator?
Adjust the sky separately from the foreground where possible, using selection, and make small changes to highlights and colour. Check the join between sky and land at full size, and compare the edited image with the original before finishing.
Is Photomator better on Mac or iPad for landscape editing?
For most landscape photographers, the Mac is the better main editing device because of its larger screen and precise controls. The iPad is a useful companion for reviewing a set and making first-pass adjustments, especially away from a desk.
What should I check before buying Photomator for landscape work?
Check the current App Store listing for pricing, trial terms, supported devices and operating system requirements. Then test it on a complete set from one location, including mist, bright sky and low evening light, and judge the exports at the sizes you actually use.