
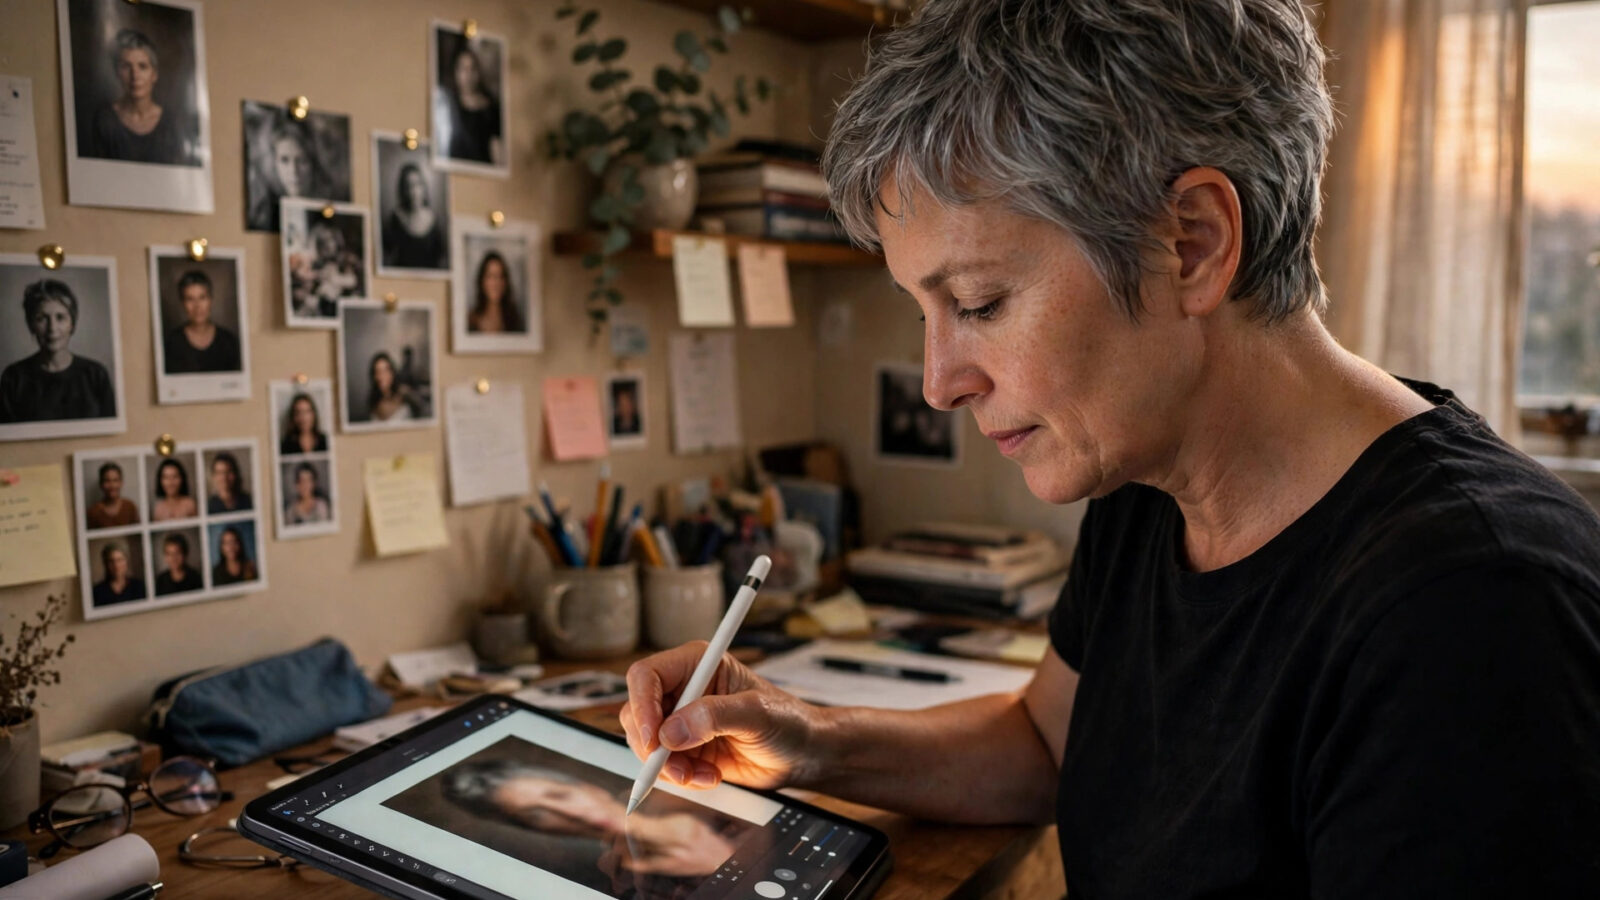
A headshot is a small photo with a large job. It appears on a company website, a LinkedIn profile, a speaker page, a casting listing or a book cover, and it has to communicate professionalism, approachability and trust in a single glance. A good headshot does not need heavy retouching. It needs clean light, natural skin, sharp eyes, a tidy background and a crop that puts the person at the centre. This guide explains how to achieve that in Photomator, whether you are editing your own headshot or a set for a team.
Photomator is well suited to headshot editing because its tools are photographic and precise, without forcing you into a complex retouching workflow. You can correct light and colour, refine skin gently, sharpen eyes, tidy a background and apply a consistent look across a set, all with non-destructive edits that keep the original safe. The aim throughout is a headshot that looks like the person, on a good day, in good light.
Start with selection and cropping
Begin by choosing the best frames. Look for a natural expression, eyes that are sharp and looking at the camera, and a head position that feels relaxed rather than stiff. Discard frames with closed eyes, awkward expressions or distracting background elements. A smaller, well-chosen set is easier to edit consistently than a large set of similar frames.
Crop with the final use in mind. A headshot for a website profile usually needs a tight crop, with the head and shoulders filling the frame and a small amount of space above the head. A headshot for a speaker page or a press kit may need a slightly wider crop, with more background visible. In Photomator, crop and straighten first, so that later adjustments to light and colour are judged on the final composition. Keep the eyes near the upper third of the frame, and avoid cropping at the chin or through the top of the head.
Light, exposure and colour
Headshots live or die by light. Correct exposure first, so the face is well lit without blown-out highlights on the forehead or nose. Lift shadows gently if the face is too dark, and lower highlights if bright areas lose detail. Use white balance to remove a colour cast from office lighting or mixed daylight, so skin looks natural rather than yellow or grey.
Colour should be believable. A small increase in vibrance can make a headshot feel alive, but oversaturation will make skin look orange or red. Use curves or colour grading sparingly, to add a touch of warmth or contrast, and check the result on a neutral background. If you are editing a set for a team, apply the same starting adjustments to every headshot, then refine each one individually, so the team page looks coherent.
Skin, eyes and natural retouching
Skin retouching in a headshot should be invisible. The goal is to reduce temporary blemishes, shine and unevenness, while keeping texture, freckles and character. In Photomator, use gentle, selective adjustments rather than a heavy smoothing effect. A light touch with healing or cloning, where available in your workflow, and a small reduction in local contrast on skin, will usually be enough. Avoid removing moles, scars or features that make the person recognisable.
Eyes deserve careful attention. Sharpen the eyes slightly, brighten the whites gently if they look dull, and make sure the catchlights are visible. Do not whiten eyes so much that they look artificial, and do not oversharpen eyelashes or eyebrows. Use masking to apply sharpening and brightening only to the eyes, so the rest of the face stays soft and natural. A headshot with sharp, bright eyes feels engaged and trustworthy.
Backgrounds and consistency
A headshot background should support the person, not compete with them. A plain, softly blurred or evenly lit background works best. If the background is busy, use masking or a gentle blur in Photomator to reduce distraction, while keeping the edge of hair and shoulders natural. Avoid a background that is much brighter than the face, as it will draw attention away from the person.
For a team set, consistency matters as much as individual quality. Use the same crop ratio, the same background treatment and the same colour starting point for every headshot. Export at the size the website or platform needs, with a clear file name for each person. When you are reading other Photomator guides, you will see the same principle. A consistent set looks professional, even when each headshot was taken in slightly different light.
Exporting for different uses
Export headshots for their actual use. A profile photo needs a square or vertical crop at a modest size, a website team page needs a consistent size across the set, and a press kit needs a larger, high-quality file. In Photomator, export a master version at full quality, and then export smaller versions for web use, so you always have a high-quality original to return to. Check the exported file at the size it will be seen, as a headshot that looks good large can look soft or dark at thumbnail size.
Frequently asked questions
How much retouching should a headshot have?
As little as possible, applied invisibly. Remove temporary blemishes and shine, keep skin texture and recognisable features, and avoid heavy smoothing that makes a person look unlike themselves.
Should headshot skin be smoothed in Photomator?
Only gently and selectively. Use light, local adjustments to reduce unevenness, and keep texture, freckles and character. Heavy smoothing looks artificial and undermines trust in a professional headshot.
How do I make eyes look sharp in a headshot?
Use masking to sharpen and brighten only the eyes, with a light touch. Keep catchlights visible, avoid over-whitening, and check that eyelashes and eyebrows do not look harsh.
What crop works best for a headshot?
A tight head-and-shoulders crop, with the eyes near the upper third and a small amount of space above the head, works for most profile uses. Use a slightly wider crop for speaker pages and press kits.
How do I keep a team headshot set consistent?
Use the same crop ratio, background treatment and colour starting point for every headshot in Photomator, then refine each one individually. Export at a consistent size with clear file names for each person.