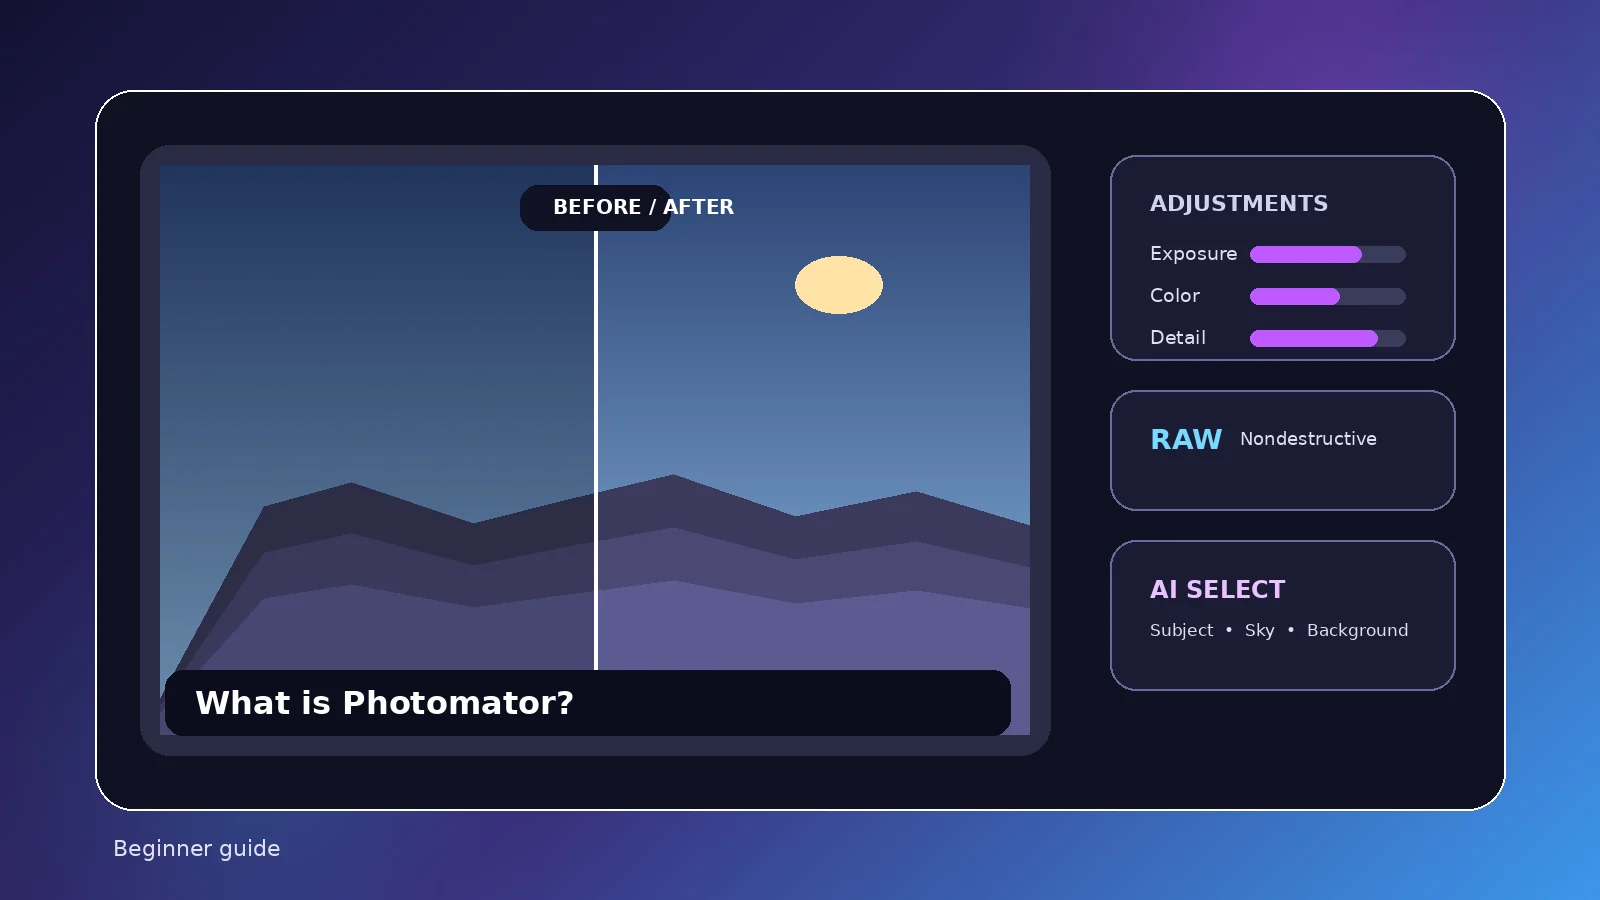
If you are new to Photomator, the useful starting point is not a feature checklist but the shape of the workflow. This guide explains how the app approaches photo correction, RAW files, selective edits, retouching, and Apple-device integration so you can judge whether it fits the way you actually edit.
Photomator in plain English
Photomator is a photo editor built for Apple platforms. Its core job is to help you improve photographs: correct exposure and color, work with RAW files, make local adjustments, remove distractions, apply presets, and finish images for sharing or delivery. The workflow is photo-first rather than graphic-design-first.
A useful way to think about it is as a focused editing workspace that sits between quick one-tap enhancement and more complex desktop editing. You can make deliberate, reversible adjustments without needing to build a document from layers, text, and illustration elements.
Who Photomator is for
Photographers who work mainly on Mac, iPhone, or iPad are the clearest fit. It also makes sense for content creators and travelers who want to begin an edit on one Apple device and continue on another.
It is less suitable if your main requirement is Windows or Android support, or if you need a Photoshop-style composition workflow with extensive text, shape, and layered-design tools.
Core editing workflow
A typical edit starts with exposure and white balance, then moves into contrast and color. Selective masks can isolate a subject, sky, or background. Repair or Clone can clean up distractions, while Denoise or Super Resolution can be used when the source image needs additional processing.
Because the adjustments are designed to be nondestructive, you can revisit decisions instead of treating every move as permanent. That makes experimentation less risky and supports a more iterative editing style.
RAW, ProRAW and intelligent tools
Photomator’s current App Store description includes RAW and Apple ProRAW support, AI-assisted subject/sky/background selections, Denoise, Super Resolution, Smart Deband, auto cropping, automatic enhancement, and Match Colors.
The important practical point is that “AI” does not mean “no judgment required.” Automated selections can save time, but edges, halos, textures, and tonal transitions still deserve a close look before export.
Where Photomator runs
Current App Store compatibility includes Mac, iPhone, iPad, and Apple Vision. There is no official Windows or Android version listed. Avoid websites that advertise EXE or APK downloads under the Photomator name.
For the latest operating-system requirements and regional purchase options, use the App Store because platform requirements and commercial terms can change.
What Photomator is not
Photomator is not a downloadable installer distributed by this website, and Photomator.org is not Apple support. It is also not positioned as a full graphic-design suite. If you need complex composites, long text layouts, or a design-centric layered document, a broader editor may be a better match.
A sensible first project
Start with one well-exposed photo you know. Correct white balance, set overall brightness, recover highlights if needed, add modest contrast, then try one selective adjustment. Finish by exporting a copy and comparing it with the original at normal viewing size.
That simple exercise teaches the application’s logic better than applying every tool at once. Once the fundamentals feel predictable, move into RAW recovery, retouching, batch edits, and intelligent enhancement tools.
Practical checklist
- Use a supported Apple device
- Start with one representative photo
- Learn global light/color before advanced tools
- Inspect automatic selections before trusting them
- Export a test file and review it outside the editor
Bottom line
Start with the essentials: what Photomator edits, which Apple devices it supports, and how its nondestructive photo workflow is organized. The most reliable approach is to test the feature with your own images, keep edits nondestructive where possible, and review the final export at the size and device where it will actually be used.