
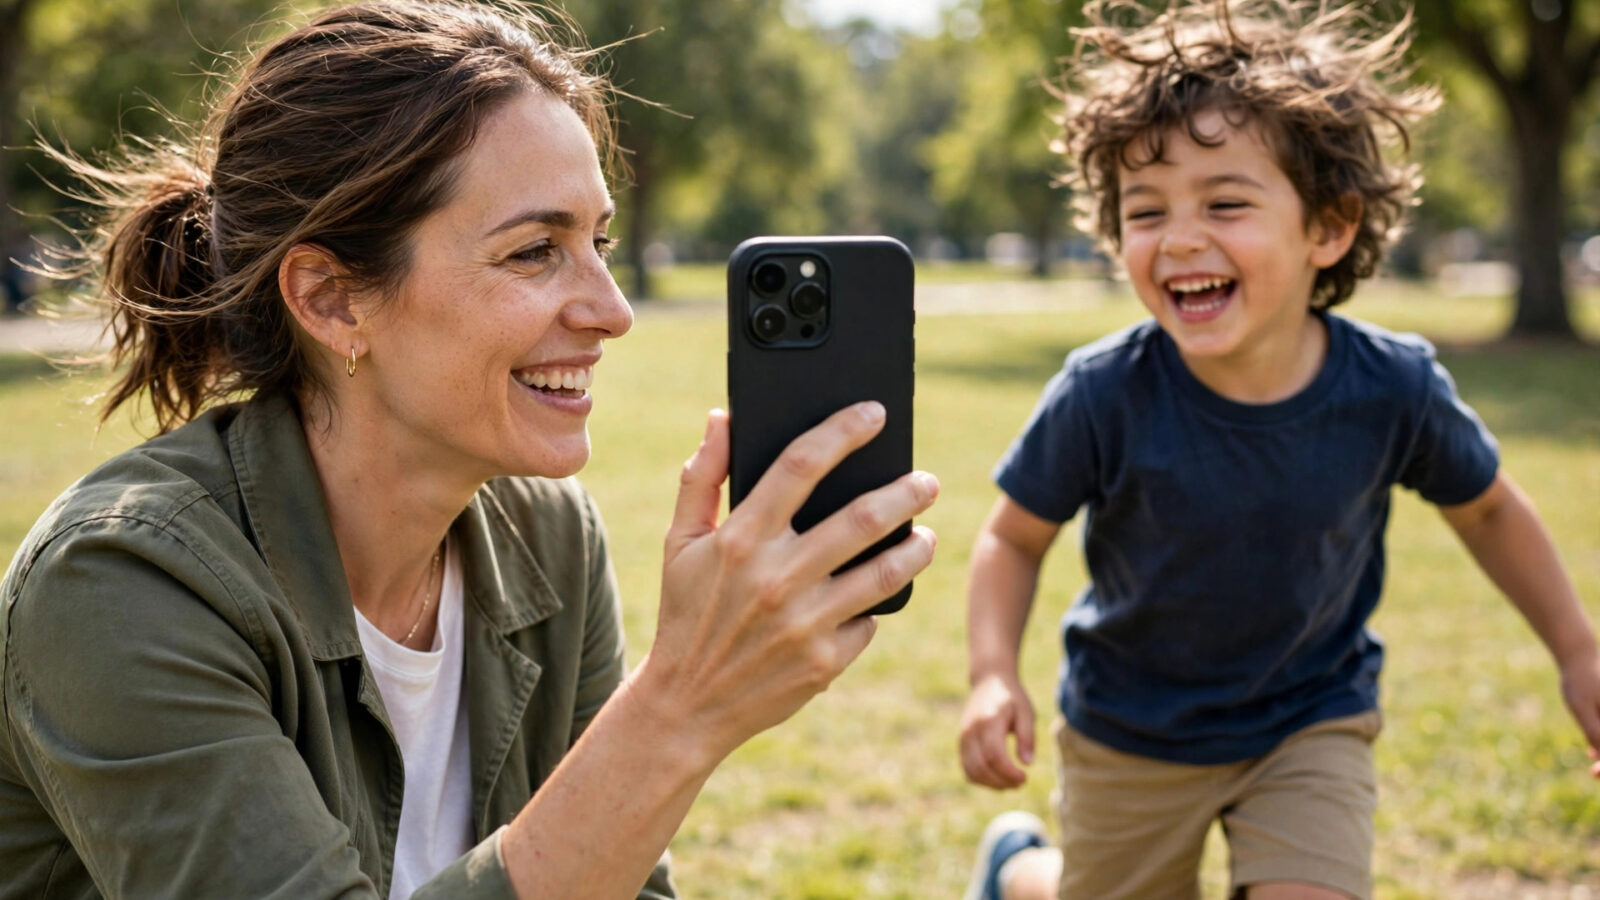
A Live Photo is a still photograph with a short movement attached to it. When you press and hold one in Apple Photos, the moment plays for a few seconds, sound included. That extra movement is what makes Live Photos feel alive, and it is also what makes editing them a little different from editing an ordinary still. This guide is about working carefully in Photomator on iPhone, so that your edit improves the photograph without quietly losing the part that made it a Live Photo in the first place.
Most of the editing itself will feel familiar: exposure, colour, cropping and local adjustments all behave much as they do for any photograph. The difference is in the checking. Before you share or export, you need to know whether the movement is still there, whether the frame you chose as the key photo is still the best one, and whether the file you are sending is the Live Photo itself or a still taken from it. This guide walks through that process step by step.
What a Live Photo contains and why it changes your edit
A Live Photo holds two things at once: a high quality still image, called the key photo, and a short video clip that covers roughly a second and a half on either side of that still. The key photo is the frame people see when the image is sitting quietly in a library, and it is also the frame that most editors show you while you work. The clip is what plays when someone presses and holds the image.
That structure matters because an edit can affect the two parts differently depending on how the app handles the file. In some workflows the adjustments apply to the still and the motion carries over; in others the edited result is a still image only. Photomator’s handling can vary with the version installed and with the way the photo is opened and exported, so it is worth confirming what has happened to the motion before you treat the edit as finished, rather than assuming it either way.
The practical point is simple. Edit the photograph as you normally would, but judge the result twice: once as a still, and once as a Live Photo. Play the movement, look at the first and last frames, and listen if the clip carries sound. If anything about the motion looks wrong, that is a sign to step back and check the export path before you share the file.
Before you edit: choose the key photo and protect the original
Start in Apple Photos, before you open Photomator. Open the Live Photo, play it through, and watch the whole clip rather than only the frame that happens to be showing. The best still in a Live Photo is often a fraction of a second away from the default key photo: an eye that was closed, a smile that arrived late, or a gesture that landed just after the shutter moment. Choosing the key photo first means every adjustment you make afterwards serves the frame you actually want to keep.
While you are there, check the sound and the movement for anything you would rather not keep, such as a camera wobble at the start of the clip or a background noise that distracts from the moment. You cannot always fix those things in an editor, and knowing about them early helps you decide whether the Live Photo is worth editing as a Live Photo at all, or whether a clean still taken from the best frame is the better outcome.
Keep the original safe. Work on a duplicate or rely on nondestructive editing where it is available, so that you can return to the unedited Live Photo if the edit goes wrong. This matters more than usual with Live Photos, because once the motion component is discarded by an export, it cannot be recovered from the edited file. A safe original gives you the freedom to try an edit, check it properly, and start again without losing the moment.
A careful editing workflow in Photomator on iPhone
Open the Live Photo in Photomator on your iPhone and take a moment to look at the key photo before you touch any control. Check the exposure, the colour balance and the composition as a still first. If the frame has an obvious problem, such as a tilted horizon or a distracting object at the edge, decide whether to crop or straighten before you spend time on finer adjustments. A good edit is usually a small number of deliberate changes rather than a long list of small ones.
Work in a sensible order. Start with the overall light: exposure and contrast, then white balance, then colour. After that, move to local work, such as lifting a shadowed face or recovering detail in a bright sky. This order keeps you from chasing a colour problem that was really an exposure problem, and it makes the effect of each change easier to judge. The portrait editing guide on this site covers a similar order for faces, and the same habit of working from broad to specific applies here.
Make one adjustment at a time and pause after each one. On a phone screen it is easy to stack several changes and lose track of which one caused a problem. Zoom in to check detail at full size, especially around hair, foliage and text, where over-sharpening and over-smoothing show up first. Then zoom back out to judge the whole frame, since an edit that looks good close up can feel heavy at normal viewing size.
When you are happy with the still, play the Live Photo again inside the app if the version you are using shows the motion there. Look at how the clip begins and ends, and whether the edited still sits naturally within the movement. If the motion is not shown in the editor, make a note to check it after export, using the steps in the next section, before you send the file anywhere.
What to check in the moving part before you share
Exporting is where most Live Photo surprises happen. The same edit can leave you with a Live Photo, a still image, or a short video, depending on the export options you choose and the app you share through. Before you share, open the exported file in Apple Photos and press and hold it. If it plays, the motion survived. If it does not, the export produced a still, and you will need to decide whether that is acceptable or whether to export again by a different route.
Check the beginning and the end of the clip, not just the middle. Movement that starts abruptly, a visible jump between the key photo and the first moving frame, or sound that cuts off early are all signs that the edit or the export has altered the clip. These problems are easy to miss if you only glance at the still frame, and they are exactly the kind of thing a recipient will notice when they press and hold the image.
Also check how the file behaves in the place you plan to share it. Some messaging apps and social platforms keep Live Photo motion, some convert it to a still or a video, and some strip it silently. If motion matters for a particular share, test with one photo first and ask the recipient what they received, rather than discovering afterwards that a whole set arrived as stills. The getting started guide on this site is a useful companion if you are still settling into Photomator’s export options generally.
Turning a Live Photo moment into a still worth keeping
Sometimes the best result is not a Live Photo at all. A child mid-laugh, a dog caught mid-leap or a wave at its peak may exist only in a frame either side of the key photo, and the right move is to make that frame the still. If your workflow lets you set a new key photo, do that first and then edit the frame you have chosen, so the still and the motion agree with each other.
If you want a still only, export or duplicate the chosen frame as a still image and edit that file separately from the Live Photo. Keeping the two files apart avoids confusion later, when a still you meant to share sits next to a Live Photo with the same thumbnail. Name or favourite the still clearly, and keep the original Live Photo untouched in your library as the record of the moment.
Judge the still on its own merits once it is separated from the motion. A frame that felt wonderful as part of a moving moment can look awkward frozen, with a half-closed eye or an unbalanced pose that the movement had disguised. If the frozen frame does not stand up on its own, either pick a different frame or keep the Live Photo whole. The motion is part of the photograph, and it is better to keep it than to force a still that does not work.
Common problems and how to avoid them
Most Live Photo editing problems come from the same handful of habits, and all of them are avoidable with a slower first pass and a proper check before sharing.
- Sharing a still by accident: always press and hold the exported file before you send it, so you know whether the motion survived the export.
- Editing the wrong frame: choose the key photo before you adjust anything, and re-check it after cropping, since a crop can change which frame works best.
- Losing the original: work on a duplicate or nondestructively where possible, because a discarded motion component cannot be recovered from the edited file.
- Over-editing the still: heavy sharpening, smoothing or colour work can sit badly against the softer moving frames, so check the whole clip, not only the key photo.
- Assuming the sharing app keeps motion: test one photo in each app or service you use, since handling of Live Photos varies widely.
Frequently Asked Questions
Does editing a Live Photo in Photomator remove the motion?
Not necessarily. Whether the motion survives depends on the version of the app you have installed and on how the photo is opened and exported, so check the exported file by pressing and holding it in Apple Photos before you share it. If the motion is gone, the export produced a still, and you may need a different export route or a duplicate of the original.
Should I edit the Live Photo or a still copy of it?
Edit the Live Photo when the movement is part of what you want to share, and edit a still copy when you only need one frame. Working on a still copy is the safer choice when you plan heavy edits, because it leaves the original Live Photo untouched. Either way, keep the original safe until you have checked the finished file.
How do I choose the best key photo?
Play the whole clip in Apple Photos and watch for the frame where expressions, gestures and composition come together best. The default key photo is a reasonable starting point, but the strongest frame is often a fraction of a second away. Choose it before you edit, so every adjustment serves the frame you intend to keep.
Can I apply the same edit to several Live Photos?
Batch editing and presets can give a set of photos a consistent look, and they are worth trying when you have a series taken in the same light. Apply the shared look first, then check each photo individually, since Live Photos in a set rarely share the same key frame quality or motion. A preset is a starting point, not a finish, and each photo still deserves its own check before sharing.
Why does my edited Live Photo look like a still after sharing?
Either the export produced a still, or the app or service you shared through stripped the motion. Open the file you exported and press and hold it to find out which. If the file itself still plays, the sharing route is the cause, and you may need to share it differently or accept a still or video version for that destination.