
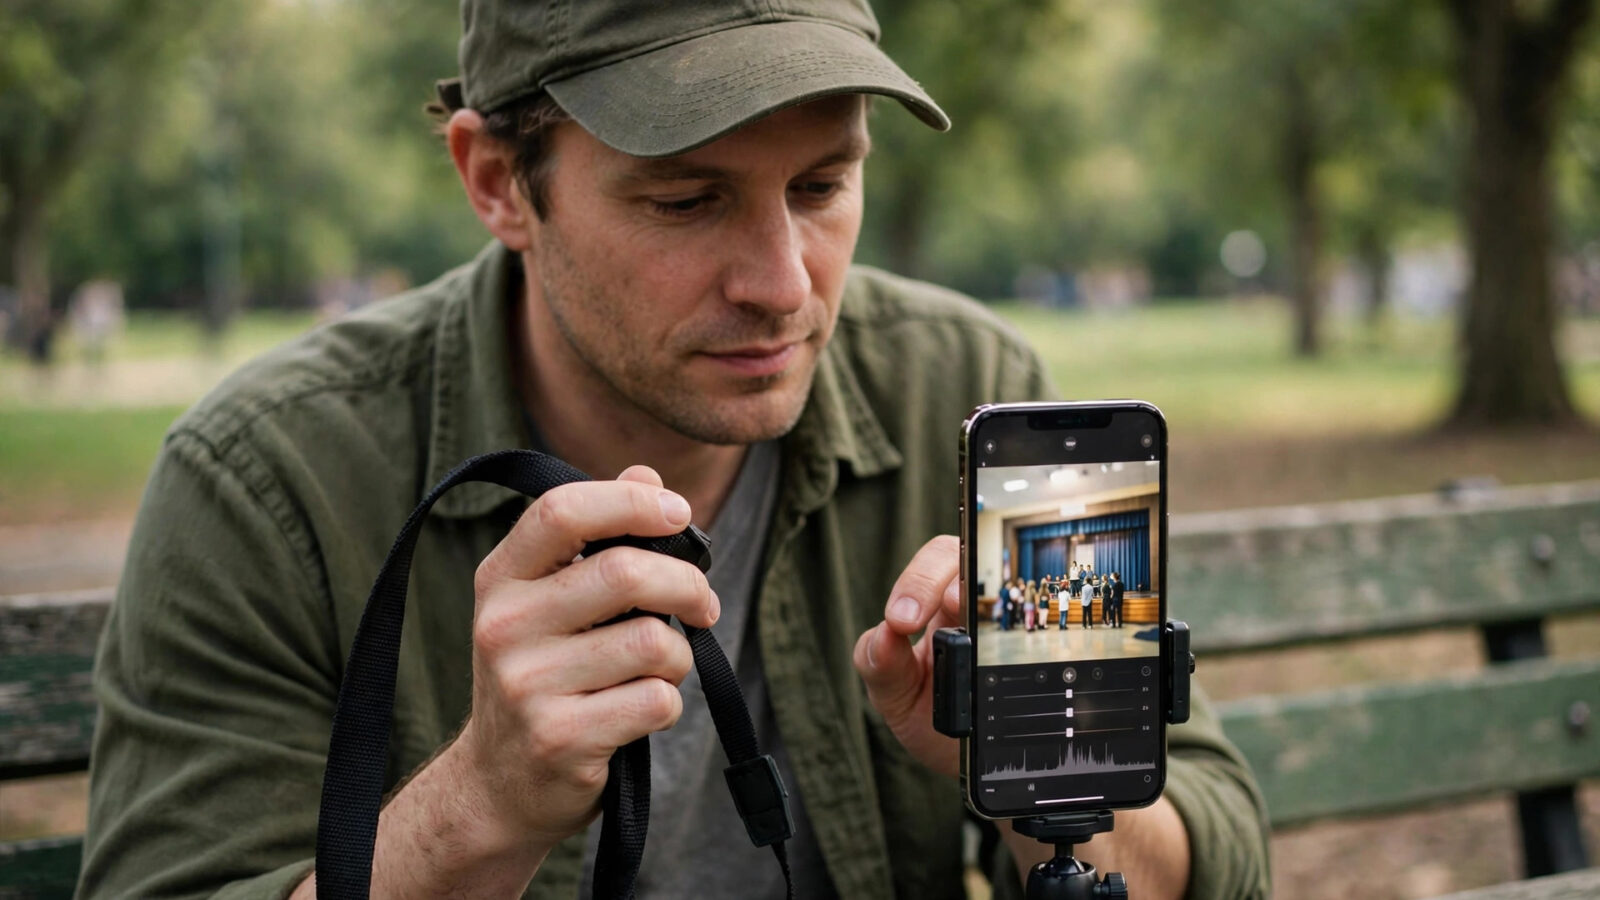
Teachers take more photos than most people realise. Classroom displays, science experiments, art projects, reading corners, school trips, sports days and, above all, the school play. Those photos matter to children, parents and the school, yet they are often taken quickly, in poor light, with a phone, and edited in a rush between lessons. A simple, reliable workflow makes a real difference.
This guide is for teachers who want good classroom and school play photos without becoming photographers. It explains how to use Photomator on iPhone, iPad and Mac to edit quickly, keep children’s photos safe, and share only what should be shared, with the school’s rules in mind.
Start with consent and safety
Before any editing, check the school’s photo policy. Many schools require parental consent for photos, restrict where photos can be shared, and forbid posting identifiable photos of children on personal social media. Follow those rules exactly. If a child does not have consent for photos, do not photograph them, do not include them in group photos that will be shared, and do not keep their photo in a shared album.
Keep school photos separate from personal photos. Use a separate folder or album in Photomator and Photos for school work, and do not mix school photos into personal cloud albums that family members can see. When sharing with parents, use the school’s approved channel, such as a school app, email or a password-protected gallery, rather than a public post. Delete photos that are not needed, in line with school policy, and keep the device locked with a passcode.
Classroom photos in difficult light
Classrooms are hard to photograph. Fluorescent lights, mixed daylight from windows, colourful displays and busy backgrounds all affect colour and exposure. Photomator’s automatic enhance and white balance tools can correct a dull, yellow classroom photo in seconds, making displays and children’s work look natural without oversaturating colours. A gentle lift in shadows can reveal detail in a display, while a small reduction in highlights can stop a bright window from washing out the room.
For close-ups of children’s work, such as art, writing or models, crop tightly and straighten the photo. A straight, well-cropped photo of a piece of work is clearer than a wide shot of a busy classroom, and it avoids including other children or personal information in the background. Check the background before sharing, for names, addresses or other details that should not be visible.
School play photos: low light and movement
The school play is the hardest school event to photograph. The hall is dark, the stage is brightly lit, children move quickly, and parents are watching from the audience. Photomator’s denoise and enhance tools can help with the grain and softness that come from low-light phone photos, but they cannot fix a badly blurred photo. The best approach is to take many photos, use burst mode where helpful, and choose the sharpest ones to edit.
For stage photos, expose for the children on stage, not for the dark hall. A photo that is too dark can be brightened, but a photo with blown-out stage lights loses detail that cannot be recovered. In Photomator, lower highlights to recover detail in costumes, lift shadows gently to show faces, and use a small amount of sharpening. Avoid heavy filters that make skin look unnatural, and keep colours true to the costumes and set.
If the school allows a dress rehearsal photo session, use it. A rehearsal has better access, fewer audience members in the background, and time to try different positions. Photos from a rehearsal are often better than photos from the performance itself, and they can be shared with parents who could not attend.
A quick editing routine for busy teachers
Teachers do not have hours to edit. A five-minute routine works well. First, delete blurry and duplicate photos. Second, choose the best ten to twenty photos, not hundreds. Third, apply a consistent, gentle edit in Photomator, using the same starting point for the set, so the photos look like they belong together. Fourth, crop and straighten. Fifth, check backgrounds and consent, then export at a size suitable for the school’s sharing channel.
Batch editing is helpful for a set of classroom photos taken in the same light, but check each photo after a batch edit. A preset that works for a bright classroom may be too strong for a dark hall. Save a gentle classroom preset and a separate school play preset in Photomator, and use each only for its own situation. That consistency saves time and keeps the school’s photos looking professional.
When you are reading the Photomator blog, you will find the same principle in other busy workflows. A short, repeatable routine, used consistently, produces better results than a long, occasional editing session, and it fits around teaching.
Sharing with parents and the school
Share fewer, better photos. Parents would rather see twenty clear, well-edited photos than two hundred unedited ones. Add a short caption with the event, date and class, and check names and spelling. Export at a size that is clear on a phone or tablet but not so large that it is slow to download or easy to misuse. Follow the school’s rules on watermarks, logos and credit.
For displays and newsletters, choose photos with clear faces, good light and a tidy background. For the school website, use photos that show the school at its best, with consent confirmed. Keep a copy of the shared set, with a note of the date and consent status, so the school can answer questions later.
Frequently asked questions
Can teachers use Photomator for classroom photos?
Yes, Photomator on iPhone, iPad or Mac is well suited to quick classroom edits, including colour correction, cropping and gentle enhancement. Always follow the school’s photo and consent policy before taking, editing or sharing any photo of children.
How can I improve dark school play photos?
Take many photos, choose the sharpest ones, and use Photomator’s denoise and enhance tools gently. Lower highlights to recover costume detail, lift shadows to show faces, and avoid heavy filters. A dress rehearsal session often gives better photos than the performance itself.
What should I check before sharing a school photo?
Check consent for every identifiable child, check the background for names or personal details, and share only through the school’s approved channel. Keep school photos separate from personal photos, and delete photos that are not needed in line with school policy.
How many photos should I share with parents?
Share a small, well-edited selection, typically ten to twenty photos for an event, rather than hundreds of unedited photos. A consistent, gentle edit and a short caption make the set clearer and more useful for parents.
Can I use the same preset for classroom and school play photos?
No, classroom and stage lighting are very different. Save a gentle classroom preset and a separate school play preset in Photomator, and check each photo after a batch edit. A preset that works in bright classroom light may be too strong for a dark hall.