
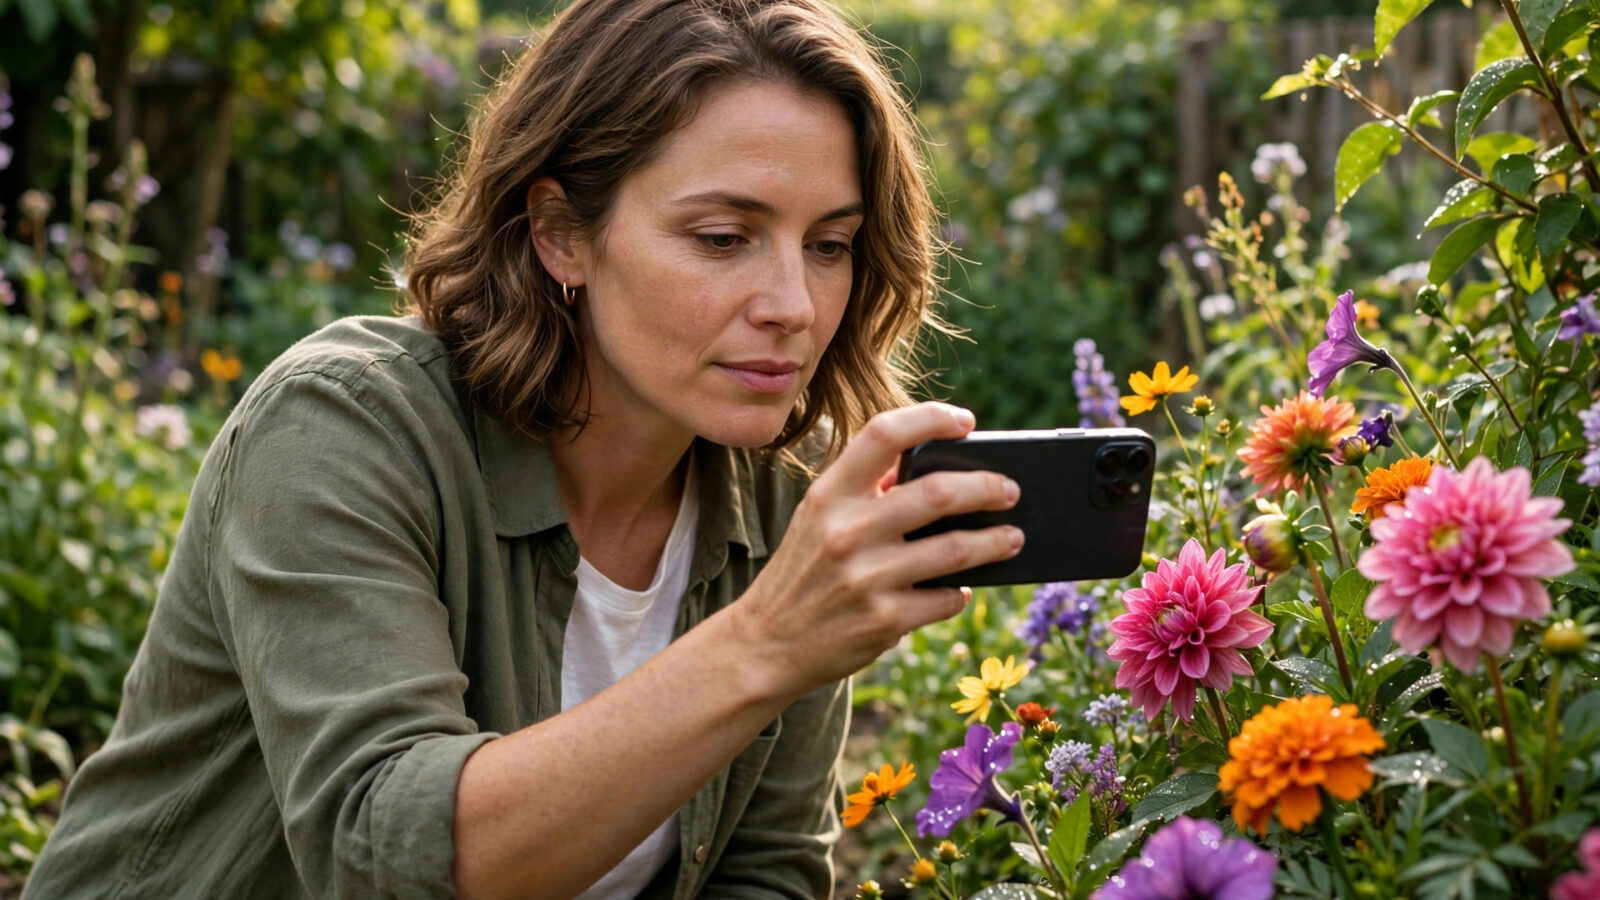
A garden changes slowly, and then all at once. A bud opens, a leaf turns, a border that looked quiet in spring becomes full and layered by summer. Garden photography is a way to notice those changes and keep a record of them, from the first flowers of the year to the last light on autumn foliage.
Photomator can support that record in a straightforward way. The homepage workflow moves from correcting lighting and exposure, to adjusting color, to making selective edits, to refining detail, and finally to saving or exporting a finished file. This guide applies that workflow to garden subjects, with attention to flowers, foliage, and the seasonal changes that give a garden its character through the year.
Seeing a Garden as a Series of Small Subjects
A garden is rarely one photograph. It is a collection of small subjects: a single flower, a group of leaves, a path, a shadow on a wall, or the edge where a planted border meets a lawn. Working with small subjects helps you decide what the photo is about before you edit it. A flower portrait needs different attention from a wide view of a border, and a foliage study needs different attention from a bright summer scene.
When you photograph, look for a clear focal point and a background that does not compete with it. Garden backgrounds are often busy, with stems, fences, and other plants at different distances. A clear subject with a calmer background usually reads better, and it also makes later selective editing easier, because the area to adjust is easier to identify.
Flowers: Color, Light, and Gentle Detail
Flowers reward careful color work. Petals often contain subtle variations that disappear when color is pushed too far, and white or pale flowers can lose detail quickly if highlights are too strong. Start with a balanced exposure, then adjust color gently. The goal is to keep the flower looking like itself, with its natural variation intact, rather than to create a more saturated version of it.
Light matters as much as color. Soft, even light often suits flowers, because it reveals petal texture without harsh shadows. In stronger light, look for flowers in partial shade or use the direction of the light to give the petals shape. When you review a flower photo, check the brightest petal edges first. If detail is lost there, soften the overall light before making other changes.
Foliage: Texture, Depth, and Green Tones
Foliage can be harder than flowers because green tones vary widely and can easily look flat or muddy. Leaves in sun and shade often sit in the same frame, and the contrast between them is part of what gives a planting depth. A balanced edit preserves that difference. Keep sunlit leaves bright enough to feel alive, and shaded leaves dark enough to give the photo structure, without letting either area lose texture.
Selective edits can help with foliage when one area needs attention and another does not. For example, a shaded corner may need a gentle lift while sunlit leaves are already well exposed. Using a selective area for that corner, rather than changing the whole photo, keeps the rest of the foliage natural. Check the result at a normal viewing size, because foliage detail that looks good up close can become busy when the whole frame is visible.
Seasonal Change Through the Year
Returning to the same garden through the year is one of the most rewarding parts of garden photography. Spring often brings fresh growth, pale flowers, and soft light. Summer brings density, strong color, and deep shade. Autumn brings warmer tones, falling leaves, and lower light. Winter brings structure: bare branches, seed heads, frost, and the shape of the garden without its summer cover.
Photographing the same view in different seasons gives you a natural series. Keep the viewpoint consistent when you can, so the change itself becomes the subject. When you edit a seasonal series, aim for consistency in how you handle light and color, so the differences between seasons come from the garden itself rather than from very different editing choices. A preset can provide a consistent starting point, as described on the homepage, and then each photo can be refined for its own light.
- Spring: look for new growth, buds, and soft, fresh color.
- Summer: look for full borders, layered foliage, and patterns of light and shade.
- Autumn: look for warm foliage, seed heads, and low, directional light.
- Winter: look for structure, frost, and quiet, open spaces.
A Garden Editing Workflow in Photomator
- Open the photo and identify the main subject, whether it is a flower, a group of leaves, or a seasonal view.
- Correct lighting and exposure first, protecting detail in bright petals and sunlit leaves.
- Adjust color gently, keeping flower and foliage tones natural and varied.
- Use selective edits for a specific area, such as a shaded corner or a distracting background, rather than changing the whole photo.
- Refine detail with care, checking that foliage texture stays natural and does not become harsh.
- Review the photo as a whole, then save or export a finished version for its destination and check the exported file.
Common Garden Photography Mistakes
One common mistake is photographing only in the brightest part of the day and expecting editing to recover detail that was lost in harsh light. Softer light, shade, and overcast conditions often give garden subjects a better starting point. Another is filling the frame with too many subjects at once. A garden is full of interest, but a photo with one clear subject and a calm background usually communicates more than a wide view of everything.
In editing, the equivalent mistake is over-saturating green and flower colors to make the garden feel more vivid. A small increase may help, but a large one can make foliage look artificial and petals look flat. Judge color by whether the photo still feels like the garden you stood in, rather than by whether it looks striking in a thumbnail.
Frequently Asked Questions
What is the best light for garden photography?
Soft, even light often works well, because it reveals petal and leaf texture without harsh shadows. Overcast light and partial shade can be good starting points, while strong midday light can make bright petals and sunlit leaves lose detail.
How should I edit flower colors in Photomator?
Start with a balanced exposure, then adjust color gently to keep the natural variation in petals. Check the brightest petal edges for lost detail, and avoid pushing color so far that white or pale flowers become flat.
How can I keep foliage from looking flat?
Preserve the difference between sunlit and shaded leaves, and use selective edits for a specific area rather than changing the whole photo. Check foliage texture at a normal viewing size, so detail stays natural across the full frame.
Should I use the same edit for every season?
A consistent starting point can help a seasonal series feel coherent, and a preset can provide that starting point. Refine each photo for its own light and subject, so seasonal differences come from the garden rather than from unrelated editing choices.
What should I check before sharing a garden photo?
Check the main subject, the background, the brightest areas, and the overall impression at a normal viewing size. Then review the exported file, as the homepage workflow recommends, to confirm that the shared version matches the edit you intended.
Conclusion
Garden photography is patient work. It rewards returning to the same plants through the seasons, looking for small subjects, and editing with restraint so flowers and foliage keep their natural character. Work through light, color, selective edits, and detail in that order, and review each photo as a whole before you share it. You can learn more about Photomator on the Photomator homepage.