
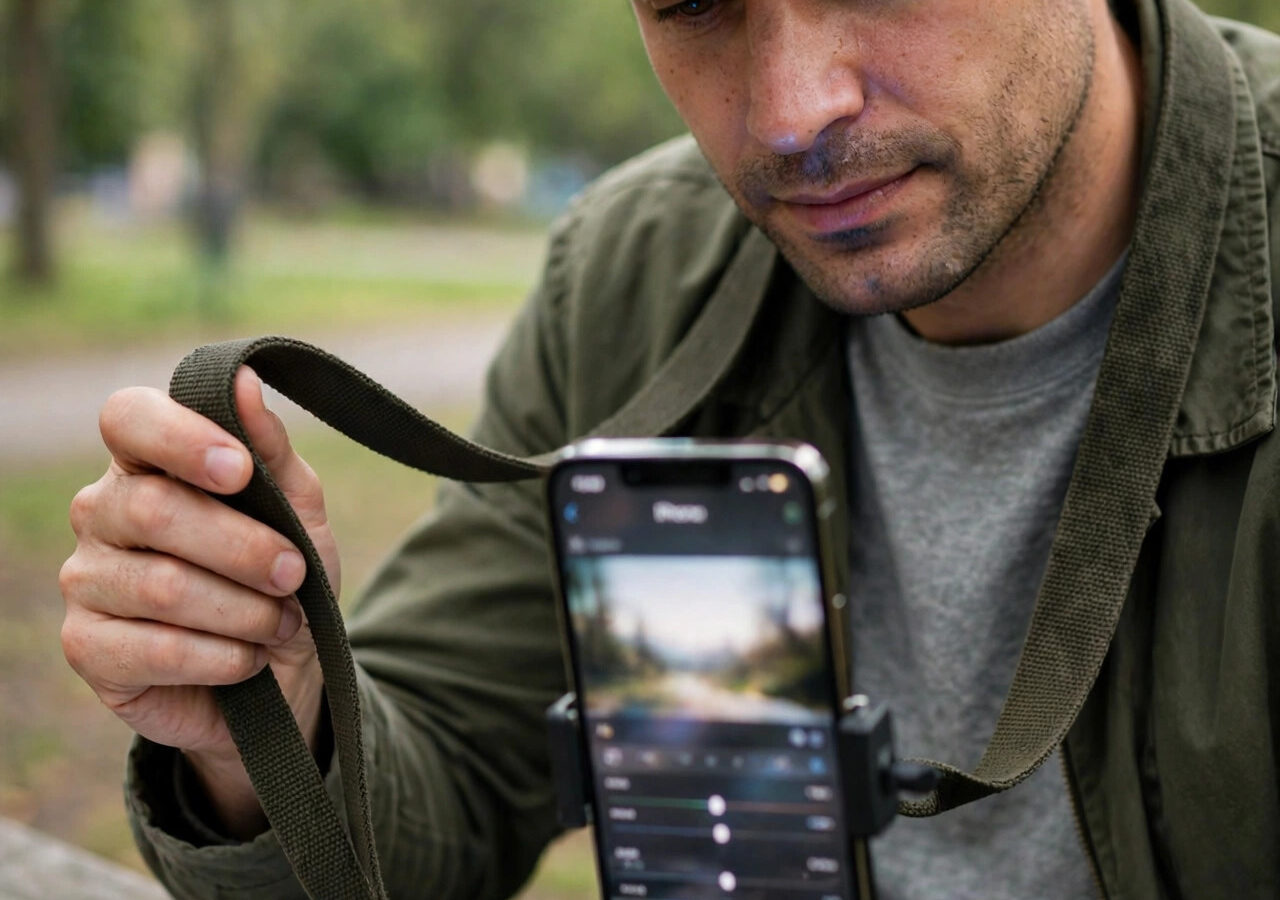
Printing at home, or at a nearby print shop, is changing how photographers think about editing. Instead of sending files to a distant lab, more photographers are printing locally, in small runs, with paper and inks chosen for the image, and that change affects how a photo should be edited in Photomator.
This guide looks at Photomator editing trends for sustainable local printing in 2026, and how to prepare photos for local printing with less waste, better colour, and a finish that suits the paper. The goal is a print you are proud to frame, without endless test prints.
Why local printing is growing
Local printing gives you control. You can see the paper, check the colour, and adjust the edit before committing to a run, rather than waiting for a delivery and finding the colour is wrong. For photographers who sell prints, local printing also means smaller runs, less stock, and less waste, which is both practical and more sustainable.
In Photomator, local printing starts with the edit. A photo prepared for a screen, with bright, saturated colour, will not always look right on paper, so the edit needs to account for the paper, the ink, and the light the print will hang in.
Editing for paper, not just for screens
Paper absorbs ink differently from a screen, so contrast and colour need care. In Photomator, keep contrast moderate, avoid clipping highlights and shadows, and check colour on a calibrated display, so the print matches what you saw while editing. Soft-proofing, where available, helps you see how the print will look before you print it.
Sharpen for the print size and the paper texture, not for the screen. A matte paper softens detail, so it needs slightly more sharpening, while a glossy paper holds detail well, so it needs less. In Photomator, sharpen selectively, keeping detail in the subject and avoiding noise in smooth areas.
Reducing waste with better preparation
The most sustainable change is also the simplest: print fewer test prints. In Photomator, check the image at print size, check the edges for distractions, and confirm the crop, before printing. A careful check on screen saves paper, ink, and time, and it means the first print is more likely to be the one you keep.
Print in small runs, and keep the edited file, so you can reprint without re-editing. In Photomator, save the print-ready version separately from the screen version, with the colour and sharpening set for the paper, so the next run is consistent with the last.
Choosing paper and finish with intent
Paper is part of the photo. A matte paper suits soft, natural images, a glossy paper suits bold colour and detail, and a textured paper adds character to portraits and landscapes. In Photomator, edit with the paper in mind, keeping colour and contrast suited to the finish, rather than editing for a generic screen look.
Talk to your local print shop about their papers and profiles, and ask for a proof before a larger run. When you are following other Photomator trends, you will see the same advice: local printing works best when the edit, the paper, and the printer are considered together, not separately.
Frequently asked questions
What is sustainable local printing?
Sustainable local printing means printing nearby, in small runs, with paper and inks chosen for the image, and with fewer test prints. It reduces stock, waste, and delivery, while giving you more control over colour and finish.
How should I edit in Photomator for print?
Keep contrast moderate, avoid clipping highlights and shadows, check colour on a calibrated display, and sharpen for the print size and paper texture. Edit with the paper in mind, rather than for a bright screen look.
Why does a screen edit look different on paper?
Paper absorbs ink differently from a screen, so colour and contrast shift. A bright, saturated screen edit can look darker or duller on paper, which is why checking colour, soft-proofing where available, and proofing before a larger run matters.
How do I reduce test prints?
Check the image at print size, confirm the crop and edges, and confirm colour and sharpening for the paper, before printing. A careful check on screen, and a single proof, saves paper, ink, and time.
Should I keep a separate print version?
Yes. Save a print-ready version separately from the screen version, with colour and sharpening set for the paper, so reprints are consistent and you do not need to re-edit for the next run.