
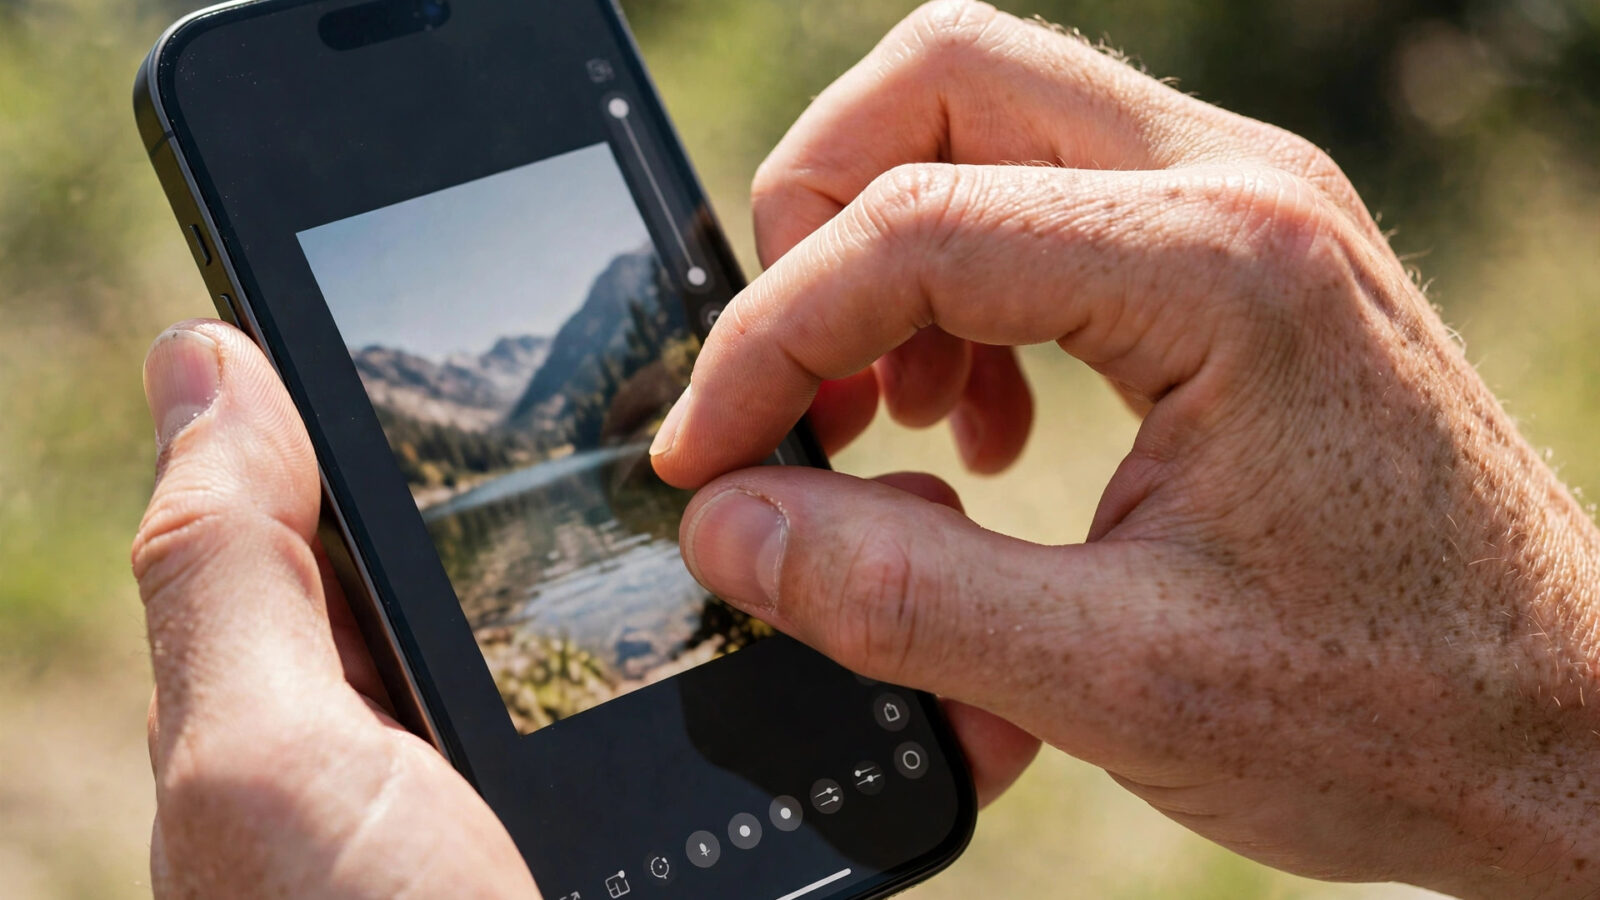
Editing on an iPhone is a different kind of speed. There is no mouse, no keyboard shortcuts under your fingers, and no large screen to spread tools across. Speed on a phone comes from touch: knowing where to tap, how to move a slider without overshooting, and how to compare an edit with the original in one motion. These Photomator iPhone gesture tips focus on that touch workflow, so faster editing means fewer wasted movements rather than rushed decisions.
Photomator on iPhone is the same nondestructive editor found on Mac and iPad, adapted for a small touch screen. It works with the Photos library and iCloud, supports RAW and Apple ProRAW files, and keeps the original image intact while adjustments are refined. The tools are the familiar ones: exposure and colour controls, curves and levels, selective editing, presets, crop and straighten, Repair and Clone, and detail tools such as Denoise. The difference on iPhone is how you reach them, and that is where a good touch habit pays off.
A note on accuracy matters before the tips begin. Touch behaviour can vary between app versions and iOS versions, and a gesture that works one way today may be refined in a later release. This guide therefore describes the standard touch habits that apply across the iPhone editing experience, such as tapping, dragging, pinching to zoom, swiping between photos and pressing and holding to compare, and it flags the places where you should check what your installed version actually does. It does not claim a special multi-finger gesture set that has not been verified in the app itself.
Why Touch Speed Matters More Than Tool Speed
On a Mac, speed often comes from keyboard shortcuts and a precise pointer. On an iPhone, speed comes from reducing the number of times you hunt for a control. Every extra tap to reopen a panel, re-find a slider or scroll back to a photo costs more attention on a small screen than it does on a desktop, and attention is what careful editing needs most.
The fastest iPhone editors work in a settled order. They open a photo, settle exposure and white balance first, then move to colour, then to selective detail, and only then to cropping and export. Working in the same order each time builds muscle memory, so the hand goes to the right control without the eye needing to search for it. That order also protects quality, because colour decisions made before exposure is settled often have to be redone.
Touch speed also depends on judging edits at the right zoom. A slider adjustment that looks right when the image fills the screen can look heavy at a smaller sharing size, and a detail correction that looks fine zoomed out can show its edge when viewed at full size. Pinching to zoom in for detail work, then zooming back out to judge the whole frame, is one of the most useful habits on iPhone, and it costs only a second each time.
The Core Touch Habits: Tap, Drag, Pinch and Swipe
The foundation of faster iPhone editing is a small set of touch habits used well. Tap to select a tool or a photo. Drag a slider slowly for fine control, and drag with a steadier, shorter movement when you are close to the value you want. Pinch to zoom in and out of the image, and drag with two fingers to move around a zoomed-in image so you can inspect detail without losing your place.
Swipe to move between photos in a set, which is faster than returning to the library after every image. This matters most when you are working through a series of similar shots, because it keeps the current tool and adjustment context close at hand while you compare frames. When a swipe does not behave as expected, check whether you are in an editing view or a browsing view, since the same gesture can mean different things in different parts of the app.
Press and hold to compare the edited image with the original. This single habit prevents more over-editing than any other. Before finishing an edit, hold to see the original, release to see the edit, and ask whether the change actually improves the photo. If the difference is hard to see, the edit may already be strong enough, and further adjustment is likely to push it too far.
For portrait work on iPhone, where skin and eyes need the same careful touch, the guide to editing portraits in Photomator on iPhone shows how gentle exposure, colour and selective adjustments combine with a restrained approach to retouching.
Slider Control: Slow Drags and Fine Adjustments
Sliders are where most iPhone edits are won or lost. A fast swipe across a slider almost always overshoots, and correcting the overshoot takes longer than a slow drag would have taken in the first place. The habit to build is a slow, short drag, pausing to look at the image, then another short drag if needed. Small steps also make it easier to notice when an adjustment stops helping, which is the point where you should stop.
When a slider feels too sensitive, change how you hold the phone rather than fighting the control. Resting the phone on a stable surface or holding it with both hands steadies the dragging finger, and a slower drag with the pad of the finger gives finer control than a quick flick with the fingertip. If your installed version offers a finer adjustment mode, such as dragging vertically or away from the slider for smaller steps, use it for the final pass and check the behaviour in your own version before relying on it.
Resetting a slider is part of slider control, not a sign of failure. If an adjustment has drifted too far, returning it to its starting point and approaching it again in smaller steps is faster than trying to nudge it back from an extreme value. The same applies to a whole edit: because Photomator edits nondestructively, an edit can be revisited and softened without losing the original, so there is no need to defend a first attempt that is not working.
Zoom, Crop and Straighten by Touch
Crop and straighten work benefits most from zooming in before judging an edge. Pinch to zoom in on a horizon line, a building edge or a face near the frame edge, then drag the crop handles slowly and check the corners. A crop that looks level at a small preview can still tilt when viewed at full size, and a small rotation made while zoomed in is easier to judge than a large one made while zoomed out.
When straightening, make the smallest correction that fixes the tilt, then zoom out and check the whole frame again. Over-straightening often forces a tighter crop than the composition can afford, cutting into foreground detail that gave the image its depth. If the horizon still looks wrong after a small correction, the problem may be perspective rather than rotation, and a perspective adjustment in small steps is the better next move.
For cropping decisions, use the compare habit as well. Hold to see the original framing, release to see the crop, and ask whether the crop removes a distraction or removes context the image needed. A faster crop is not a better crop when it cuts a hand, a horizon anchor or a leading line that the composition depended on.
Selective Edits and Precise Touches
Selective editing on a phone depends on zoom and patience. Zoom in before placing a selective adjustment, so the area you mean to affect is large enough to see clearly, and work in small steps, checking the edge of the selection at full size before moving on. A selective edit that looks seamless at a small size can show a halo or a hard edge when the image is viewed large or printed.
Repair and Clone work follows the same rule. Zoom in, work on one small distraction at a time, and compare with the original before continuing. Removing one sensor spot or stray element carefully is faster, in the end, than removing several quickly and then having to repair the repairs. On a small screen, it is easy to miss a repeated texture or a softened patch, so the zoomed-in check is not optional.
Presets and copied adjustments can speed up selective work across a set, but they should be treated as a starting point, not a finish. Apply a preset or a copied set of adjustments, then review each image individually and soften or strengthen the selective parts to suit that frame. A preset that flatters one image can overdo the next, especially when the light changes between frames.
Older iPhones need the same habits with a little more patience, because smaller screens and slower processing make overshooting easier. The guide to Photomator tips for editing photos from older iPhones covers how to keep the workflow smooth on older devices, including working in shorter sessions and checking edits at full size before export.
Working Through a Set Without Slowing Down
Speed across a set comes from treating similar photos similarly, then giving each keeper its own final check. Start by swiping through the set and marking the frames worth editing, rather than editing each photo the moment you open it. That first pass costs a few minutes and saves many more, because it stops time being spent on frames that will not be kept.
Once the keepers are chosen, settle one representative frame from each lighting situation, then copy those adjustments to the frames that share the same light. Review each one after copying, using the press-and-hold compare to catch frames where the copied settings do not fit. A frame shot in shade needs different handling from one shot in direct sun, even when they were taken minutes apart.
Keep the phone charged and the library in order while working through a set. A low battery warning or a search for a missing photo breaks the editing rhythm more than any single slow slider does. Working in shorter sessions, with a break to rest the eyes, also keeps judgement fresher than a single long session in which every image starts to look the same.
A Fast, Careful iPhone Workflow in Photomator
The following workflow brings the tips above together in a repeatable order for iPhone editing.
- Swipe through the set first and choose the keepers, before editing any single frame in depth.
- Open the first keeper, settle white balance and exposure with slow slider drags, and judge the result zoomed out.
- Adjust colour with curves and selective controls in small steps, checking the edit against the original by pressing and holding.
- Zoom in for selective detail and repair work, one small area at a time, and compare at full size before moving on.
- Crop and straighten last, using pinch to zoom for edges and a small correction rather than a large one.
- Check the export at the size it will be viewed, compare with the original once more, and only then share or save the finished image.
This order keeps the broad decisions early and the fine corrections late, which suits a touch screen, because the broad controls are the easiest to reach and the fine controls are the ones that benefit most from zooming in.
Common Touch Mistakes That Cost Time
The most common mistake is dragging too fast and overshooting, then dragging back and overshooting the other way. Slow drags feel slower in the moment and are faster overall, because they rarely need correcting. A related mistake is judging an edit only while zoomed in, which hides how strong the change looks in the finished image.
Another costly habit is editing without comparing. It is easy, on a small screen, to keep pushing an adjustment because each small step looks like an improvement on its own. Pressing and holding to see the original breaks that drift and shows whether the edit as a whole still serves the photo.
A third mistake is copying adjustments across frames that do not share the same light. A copied edit saves time only when the frames match. When they do not, the copied settings have to be undone frame by frame, which takes longer than editing each lighting group separately from the start.
Finally, avoid editing under poor viewing conditions when the result matters. Bright sunlight on the phone screen can make an image look darker and flatter than it really is, which leads to over-brightening. If possible, check the finished edit indoors or in shade before sharing it, and trust the compare habit over the screen glare.
Frequently Asked Questions
What is the fastest way to edit photos in Photomator on iPhone?
The fastest reliable way is a settled order: choose keepers first, settle exposure and white balance with slow slider drags, then colour, then selective detail, and crop last. Comparing with the original by pressing and holding at each stage prevents rework, which is where most time is lost.
How do I compare my edit with the original photo in Photomator on iPhone?
Press and hold on the image to see the original, and release to return to the edited version. Use this check before finishing any edit, and again after cropping, because it shows whether the changes as a whole still improve the photo.
How do I make fine slider adjustments on a small iPhone screen?
Drag slowly in short steps, pausing to look at the image between moves, and steady the phone with both hands or on a stable surface. If your installed version offers a finer adjustment mode, use it for the final pass, and check how it behaves in your version before relying on it.
Can I batch edit photos in Photomator on iPhone?
Yes, adjustments can be copied across frames that share the same light, which gives a consistent starting point for a set. Review each frame individually afterwards, because frames in different light need their own corrections even when they were shot close together.
Do iPhone gestures in Photomator change between versions?
Touch behaviour can vary between app and iOS versions, so a gesture may be refined in a later release. If a gesture does not behave as expected, check the current version on your phone and whether you are in an editing view or a browsing view, since the same touch can mean different things in different parts of the app.