
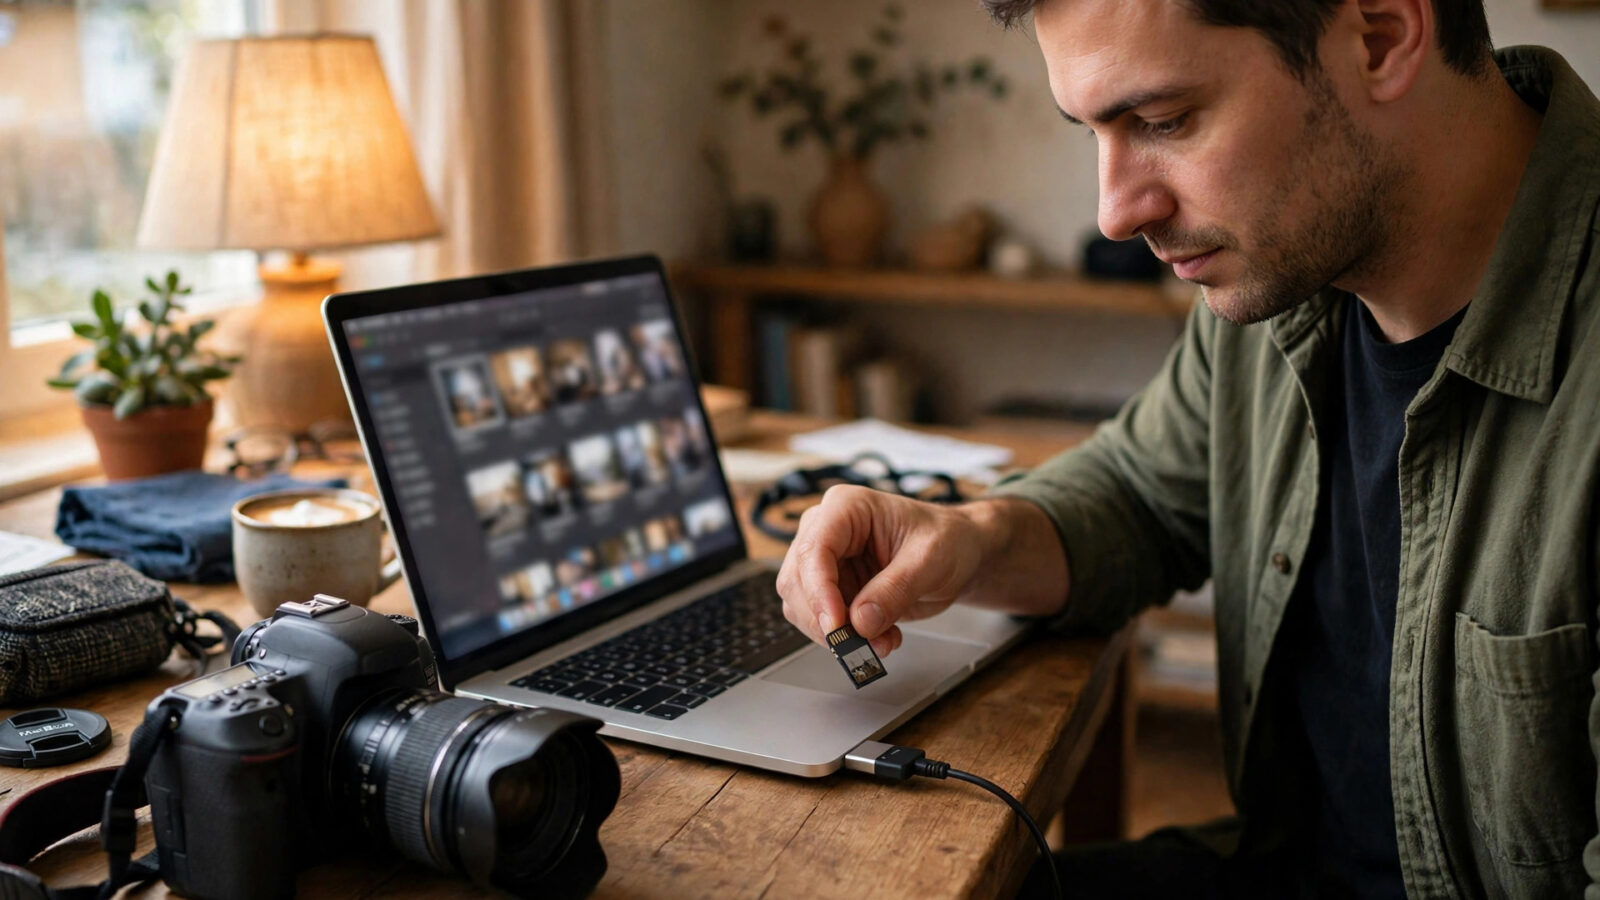
A DSLR file deserves a patient edit. The camera has already done the hard work of capturing light, colour and detail, often in RAW, and the job on the Mac is to bring that information out carefully without pushing the image into something it never was. Photomator on Mac is well suited to this work, because it combines nondestructive RAW editing with the larger screen, precise pointer and keyboard control that a full set of DSLR files rewards.
These tips focus on practical habits: how to import and organise DSLR files, how to settle exposure and colour, how to use selective tools for the details that matter, and how to batch edit and export without losing quality. They assume the files come from a DSLR, which in practice means large JPEG or RAW files, often shot in changing light, and they treat every adjustment as reversible, so a bold idea can be tried and softened without harm.
One caution applies throughout. DSLR models differ widely in sensor, file format and colour, and Photomator updates over time, so a control may be named or placed slightly differently in your installed version. Where a tip depends on a particular behaviour, check it against your own version and your own files before applying it to a whole set.
Start With RAW Files and a Clean Import
Whenever the camera offers RAW, shooting RAW gives Photomator the most information to work with. A RAW file holds a wider range of tones than a JPEG, which matters most in high-contrast scenes, such as a bright sky over a dark foreground, where a JPEG may already have clipped highlights or crushed shadows. Editing a RAW file in Photomator is nondestructive, so the original file stays intact while adjustments are layered on top.
Import through the route that suits your library. Photomator works with the Photos library and iCloud, and files can also be opened from the Mac file system, depending on how the library is organised. Whichever route is used, the habit that saves time later is to import in batches by shoot or by day, and to keep the folder or album names plain and consistent. A clear import makes culling, batch editing and export far easier than a single unsorted library.
Before editing, check the file at full size. Open a representative frame, zoom to 100 percent, and look at the areas that matter most: skin, sky gradients, fine detail and shadow areas. This check reveals noise, softness or clipping that a small preview hides, and it sets realistic expectations for what the edit can recover. A file that is badly out of focus or badly overexposed cannot be rescued by any slider, and recognising that early saves editing time.
The guide to Photomator RAW editing explains how RAW files are handled in the app and is worth reading before a first serious RAW session, because it sets out the workflow that the tips below assume.
Settle Exposure and White Balance First
Exposure and white balance should be settled before colour grading, presets or selective work, because every later adjustment builds on them. Start with exposure, using the histogram as a guide rather than trusting the screen alone. Aim to recover clipped highlights only as far as the file allows, and lift shadows gently, watching for noise as the shadow slider rises.
White balance is the second foundation. A DSLR set to auto white balance can drift between frames, especially under mixed lighting, so check the temperature and tint on a representative frame and correct them before copying settings across a set. Skin tones are the best test: when skin looks natural, the rest of the image usually follows. If no neutral reference is available in the frame, judge by the overall cast, comparing with the original to avoid overcorrecting into the opposite cast.
Curves and levels come next for tonal control. A gentle S-curve adds contrast without crushing shadows, while a small lift in the blacks can soften a harsh DSLR file. Work in small steps and compare with the original often, because a curve that looks good on one frame can be too strong on the next. The goal is a natural tonal range that suits the subject, not maximum contrast for its own sake.
Colour: Natural First, Style Second
DSLR files often benefit from restraint with saturation. Increasing overall saturation makes every colour louder, including skin and greens that should stay quiet, while selective colour control lets one hue be adjusted without affecting the rest. If the image needs more life, try vibrance or a small saturation increase first, then check skin and foliage at full size before going further.
Colour grading with LUTs or presets can give a set a consistent style, but it should come after the natural correction, not instead of it. Apply a LUT or preset to a corrected frame, then soften its strength if the skin tones shift or the shadows take on a cast. A preset that suits a golden-hour portrait may not suit a cloudy landscape from the same day, so review each lighting group separately rather than applying one look to everything.
Keep an eye on colour in the highlights and shadows separately. Warm highlights with cool shadows can look cinematic, but a strong split can make skin look muddy and skies look artificial. Small, balanced shifts usually age better than bold ones, and they survive printing and viewing on different screens more gracefully.
Detail, Sharpness and Selective Editing
DSLR files reward selective editing, because the subject is often only part of a large frame. Use masks and selective adjustments to lift the subject, darken a distracting background or add clarity to the eyes in a portrait, while leaving the rest of the image alone. Photomator offers AI selection for subjects, skies and backgrounds, which can speed up this work, but the selection should still be checked at full size, especially around hair, foliage and other fine edges.
Sharpening should be applied with the same restraint. A small amount of sharpening at full size, judged on the detail that matters, is usually enough. Over-sharpening creates halos along edges and makes noise more visible, particularly in skies and out-of-focus areas. If the file was shot slightly soft, a careful pass with sharpening and a touch of detail recovery may help, but it cannot restore detail that was never captured.
Denoise is the right tool for high-ISO DSLR files, such as indoor or evening shots. Apply it only as far as needed, and check skin and fine texture afterwards, because heavy denoising can smooth away the very detail the edit is trying to keep. Super Resolution and Smart Deband are useful in specific cases, such as a file that needs enlarging or a sky with banding, but they are not needed on every image. Use them deliberately, and compare the result at full size before keeping them.
Repair and Clone work is best done at full size as well. Remove sensor spots, stray elements and small distractions one at a time, checking each repair before moving on. On a large DSLR file it is easy to miss a repeated pattern or a softened patch, so the zoomed-in check matters more here than on a phone-sized image.
Crop, Straighten and Perspective on a Large Screen
The Mac screen makes crop and straighten decisions easier to judge than a phone screen, because the whole frame and the fine edges are visible together. Crop to remove distractions and strengthen the composition, but keep enough context for the subject to breathe. A tight crop that cuts a hand, a horizon anchor or a leading line usually weakens the image, even when it removes a distraction.
Straighten with the smallest correction that fixes the tilt, then check the whole frame again. Over-straightening often forces a tighter crop than the composition can afford. Perspective correction follows the same rule: small steps, judged at full size, with the vertical and horizontal lines in the scene as the guide. Architecture and interiors benefit most, but any image with strong lines deserves a careful look.
When cropping for a particular output, such as a print or a social format, crop a copy of the thinking, not the file itself. Because Photomator edits are nondestructive, the original framing remains available, and different crops can be prepared for different uses without re-editing from scratch. Check the cropped version at the size it will be viewed, since a crop that works large can feel cramped small.
Batch Editing and Keyboard Speed on Mac
Batch editing is where DSLR sets are won or lost. Settle one representative frame from each lighting situation, then copy those adjustments to the frames that share the same light, and review each frame individually afterwards. Frames shot in shade need different handling from frames shot in direct sun, even when they were taken minutes apart, and a copied edit that does not fit will cost more time to undo than editing the group separately would have taken.
The Mac advantage is the keyboard. Learning the shortcuts for the tools used most often, and for comparing with the original, speeds up a long session considerably. The guide to Photomator keyboard shortcuts for faster editing on Mac sets out the shortcuts worth learning first, and it is worth working through them on a real set rather than memorising them in the abstract.
Work in a settled order across the set: cull first, correct the keepers, apply selective work, then crop and export. Culling before editing stops time being spent on frames that will not be kept, and correcting before styling keeps the style consistent. Short breaks to rest the eyes also help, because after a long session every image starts to look the same and over-editing creeps in.
A Reliable DSLR Workflow on Mac
The following workflow brings the tips above together in a repeatable order for DSLR files on Mac.
- Import in batches by shoot or day, with plain, consistent folder or album names, and keep a backup of the originals.
- Cull the set first, marking the keepers before editing any single frame in depth.
- Check a representative frame at 100 percent for noise, softness and clipping, then settle exposure and white balance.
- Refine tone with curves and levels, then colour with selective controls, keeping saturation restrained.
- Apply selective edits, repair work and careful sharpening at full size, comparing with the original often.
- Crop and straighten last, with the smallest correction that fixes the frame, and check the crop at the size it will be viewed.
- Export at high quality for the intended use, check the exported file, and keep the edited version alongside the original.
This order keeps the broad decisions early and the fine corrections late, which suits the Mac screen, because the broad controls are judged on the whole frame and the fine controls are judged at full size.
Exporting DSLR Files Without Losing Quality
Export settings should match the intended use. For print, export at full resolution with high quality and the colour profile the printer asks for. For sharing online, a smaller, well-sharpened export usually looks better than a full-size file that a platform recompresses. In both cases, check the exported file before sending it, because an export can reveal banding, oversharpening or a colour shift that was not visible in the editor.
File naming matters as much as file settings. Use a consistent pattern that includes the shoot, the date and a sequence number, so exported files can be found again without opening each one. Keep the edited exports separate from the originals, and keep the originals backed up, because a nondestructive edit can be revisited only while the original file and the edit data are both available.
Before delivering a set, do a final pass at a normal viewing distance. View the images as the recipient will see them, in a gallery or a slideshow, rather than one at a time at full size. This pass catches inconsistencies in exposure and colour between frames that are easy to miss when each image is judged alone.
Common DSLR Editing Mistakes on Mac
The most common mistake is over-editing the first frame and then copying that edit across the set. A strong edit that flatters one frame can make the next look harsh, especially when the light changed between shots. Settle the representative frame conservatively, copy it, and review each frame before moving on.
A second mistake is judging sharpening and noise at the wrong zoom. Sharpening judged at a small preview often looks too weak, so it is pushed too far, and noise judged at full size often looks worse than it will in print or at normal viewing size. Judge sharpening at full size on the detail that matters, and judge noise at the size the image will be viewed.
A third mistake is relying on the screen alone for exposure. Screens vary in brightness and calibration, and a Mac screen in a bright room can make an image look darker than it really is. Use the histogram as a check, compare with the original, and review the finished edit in consistent lighting before delivering it.
Finally, avoid editing the only copy of a file. Work nondestructively, keep the originals backed up, and export rather than overwriting. A lost original cannot be recovered by any editing tool, and a careful workflow is worth more than any single adjustment.
Frequently Asked Questions
Should I shoot RAW or JPEG with a DSLR for Photomator?
RAW is the better choice when quality matters most, because it holds a wider tonal range and gives Photomator more to work with in highlights and shadows. JPEG is fine for casual sharing and smaller files, but it has already discarded information that cannot be recovered later.
Can Photomator edit RAW files from any DSLR?
Photomator supports RAW files from many cameras, but support varies by camera model and by the app version installed. Before committing to a workflow, open one of your own RAW files in your installed version and confirm it opens and edits as expected.
How do I batch edit DSLR photos in Photomator on Mac?
Settle one representative frame from each lighting situation, copy those adjustments to the frames that share the same light, and review each frame individually afterwards. Frames in different light need their own corrections, even when they were shot close together.
What export settings should I use for DSLR photos in Photomator?
Match the export to its use: full resolution and high quality for print, and a smaller, well-sharpened export for online sharing. Always check the exported file before delivering it, because an export can reveal banding, oversharpening or a colour shift.
Is Photomator on Mac better than on iPad for DSLR editing?
The Mac offers a larger screen, a precise pointer and keyboard shortcuts, which suit long DSLR sessions and fine selective work. The iPad suits editing away from the desk, and edits sync through the library, so many photographers use both, with the Mac for the detailed pass and the iPad for culling and quick corrections.